DRAGON WARRIOR 3 Enemy List, #1-139
LJ equivalent on August 13, 2012.
This is a complete enemy list for DRAGON WARRIOR 3. This walkthrough helped when I was playing the game, plus this enemy list and this enemy area document helped as well. Chronological Order: 3, 1, 2.
ZOMA CASTLE STAIRWAY: If you search the floor above the right throne (three squares up and one square left of the throne's seat), you will find a set of stairs.
Notes to remember: The Staff of Force uses up your Magic Points at a rate of 3 MP per attack! DON'T USE IT IF YOU WANT TO CONSERVE MAGIC POINTS! The Wizard's Wand (Noaniels or Samanao) is your best bet.
The Phantom Ship can be found near Romaly or Assaram. You can get the Sword of Illusion from Sabrina in Portoga after defeating Baramos... just go to the south side of town. The BeDragon spell works well for the Wizard in the final battle against the Master Archfiend Zoma.
Revolving Tile Directions for the Tower near Kol: Head up the stairs to the second floor and go north. In the next room, you'll notice two rows of strange tiles. These tiles alter the direction of
your steps, so be careful. If you look closely, there are two different types of tiles: ones that are darker on the left and lighter on the right, and others that are lighter on the left and darker on the right. Walk east of these tiles to find another group of four. Stand on the bottom left tile and press UP, UP. You'll now be in the center of the floor. In order to get to the treasure chests above you, step on the bottom left tile of the big group and press RIGHT, RIGHT, LEFT, LEFT. This should take you straight up to the group of 4 treasure chests. Two of them are Mimics (the top right and bottom left). The other two contain a Full Moon Herb and 960G pieces. Now return to the center by standing on the far left tile and pressing LEFT, LEFT, RIGHT, RIGHT. There are four more treasure chests to the south, so stand on the far left tile of the southern group and press RIGHT, RIGHT, LEFT, LEFT. Open the chests here for some Acorns of Life, a Vitality Seed, and two more Acorns of Life! Nice! Now return to the center again by standing on the far left tile and pressing RIGHT, RIGHT, LEFT, LEFT. Now walk to the right side, and stand on the bottom left tile of the group of four. Press DOWN, DOWN to get to the other side and you'll see a staircase in the upper right corner. Take these stairs up to the next floor.
Head south on the third floor until you reach another set of stairs leading up. Take these and then walk north once you're on the fourth floor. Soon, you'll come to an area with some of those weird tiles on your left. Walk over to them and stand on the bottom right tile of the first group of six. Press UP, UP, UP to move to the left, and then on the next set, press DOWN, DOWN, DOWN to get to the treasure chest containing the Armor of Radiance. This is the best piece of armor for your Hero, so equip it on him.
Now fall down the pit and head south once you land on the floor below. Exit the large room you land in, and then go west down the hallway. Just follow this passage as it turns north and you'll find a treasure chest at the very top corner (careful, it's a Mimic). East of this chest is another group of strange tiles. The idea on these is to purposely fall off the edge of the tower to the north. So just step on the top tile and press RIGHT to fall off the edge.
This will place you right outside the tower on the first floor. Open the large door south of you and enter the tower again. Go west once you're inside and up the stairs in this room. Head east on this floor and cross both sets of tiles by pressing DOWN, DOWN for both of them. Once you're on the other side, walk up the stairs to the next floor and then up the next set of stairs. Now just walk all the way west to the last set of stairs to find yourself on the top floor.
Basement boulder puzzle guide (for the Vase of Drought) in DW3 Eginbear Castle.
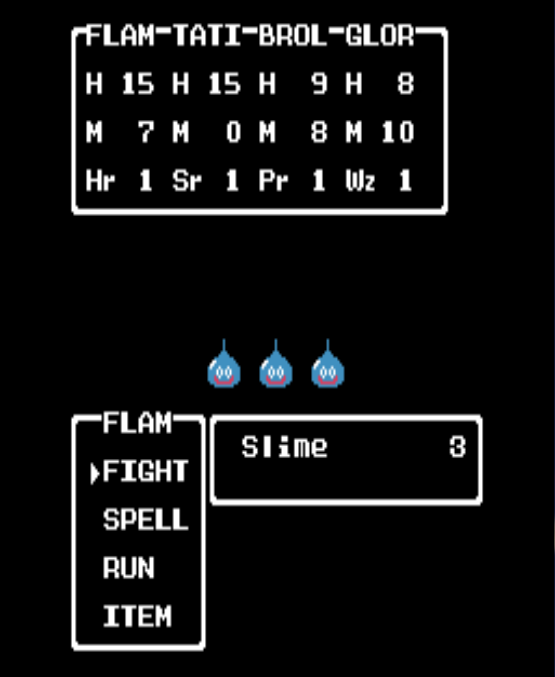
Slime
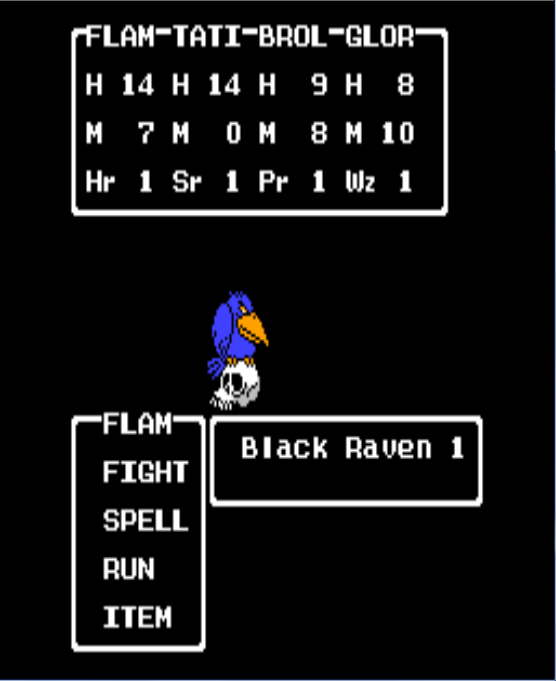
Black Raven
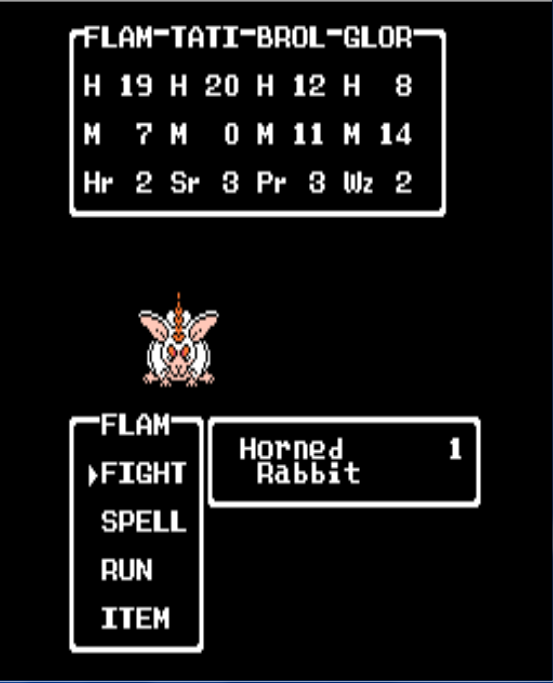
Horned Rabbit
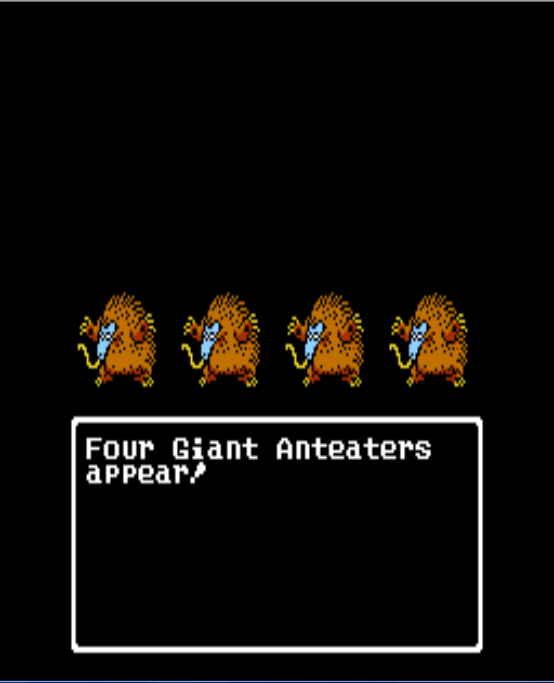
Giant Anteater
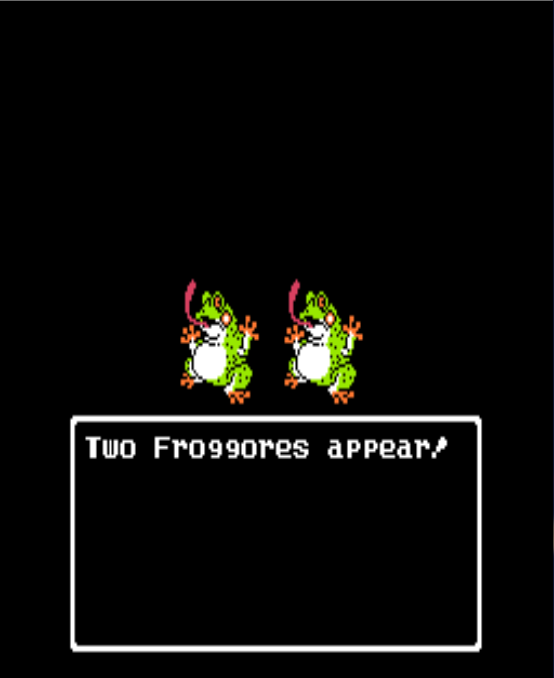
 Froggore
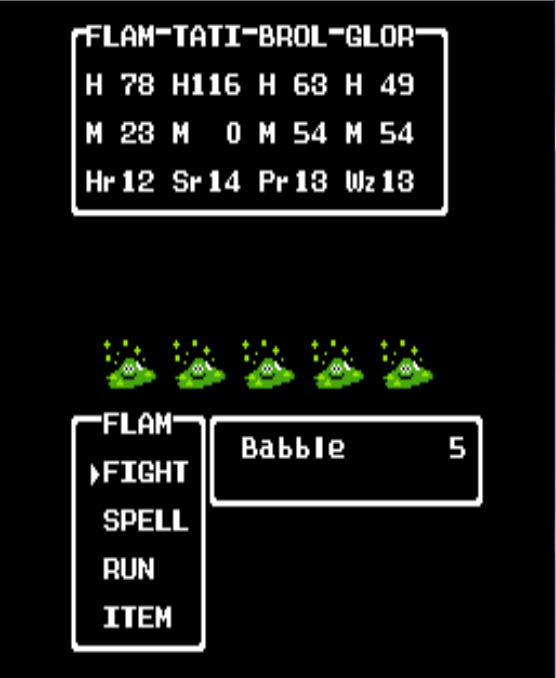
Babble
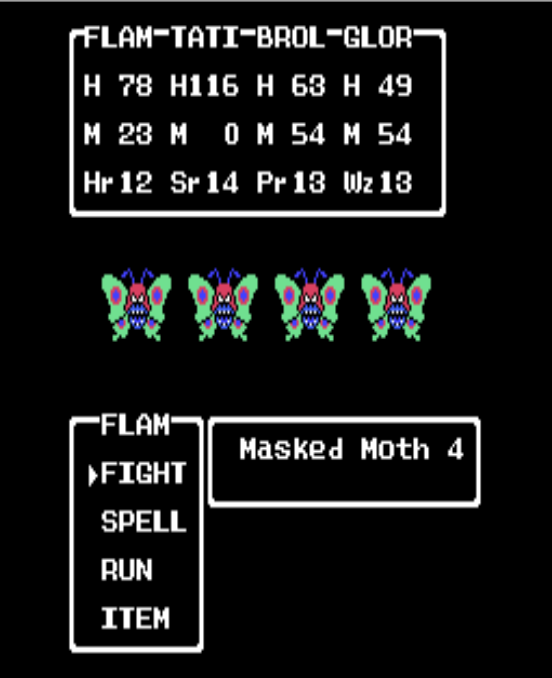
Masked Moth
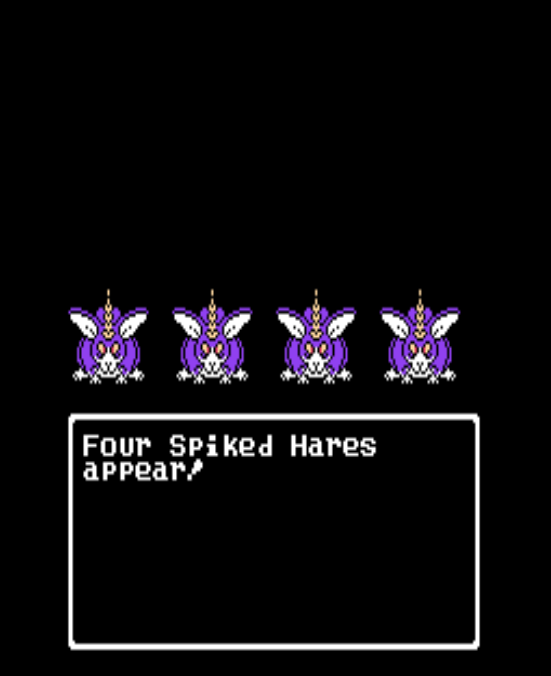
Spiked Hare
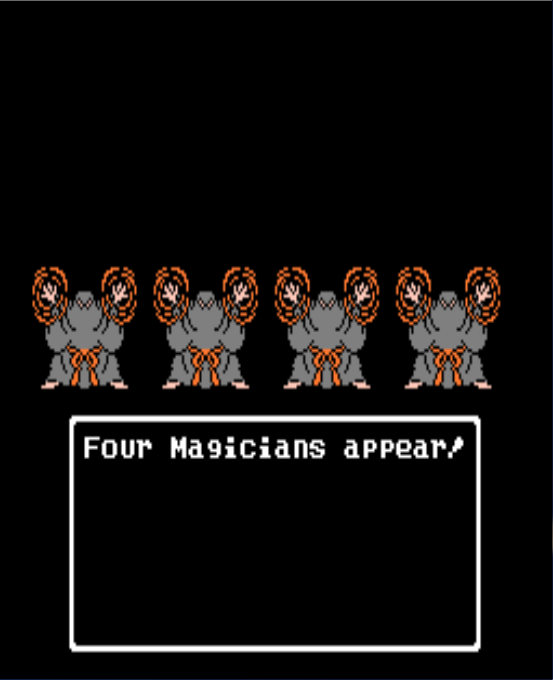
Magician
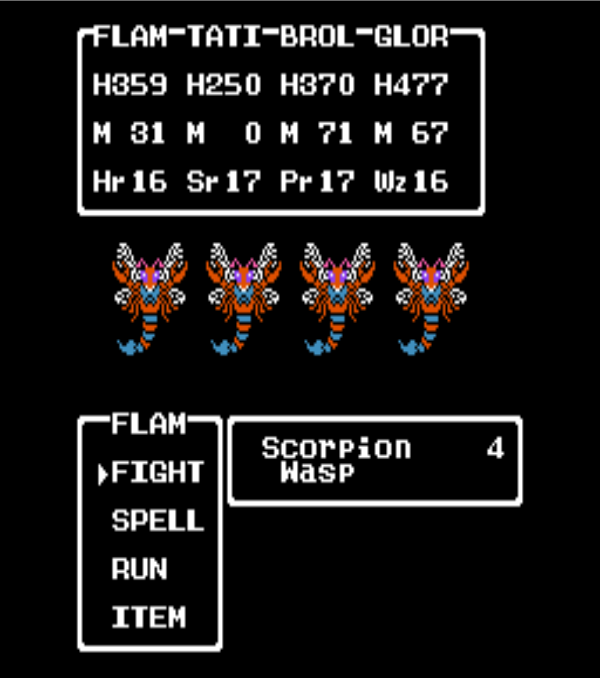
Scorpion Wasp
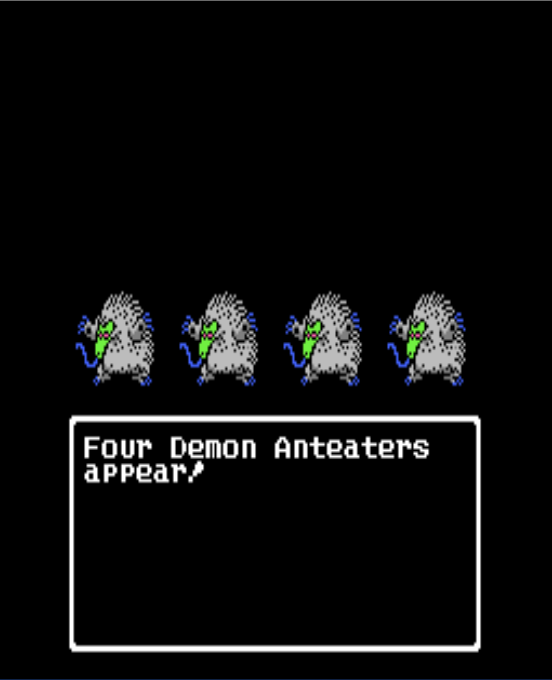
Demon Anteater
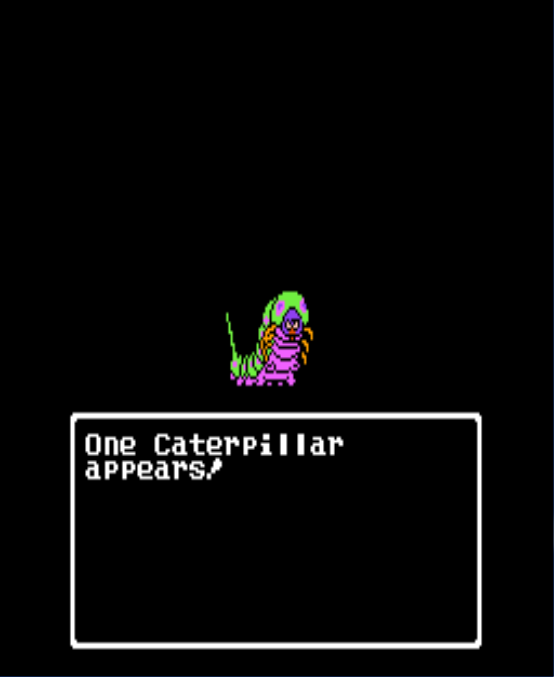
Caterpillar
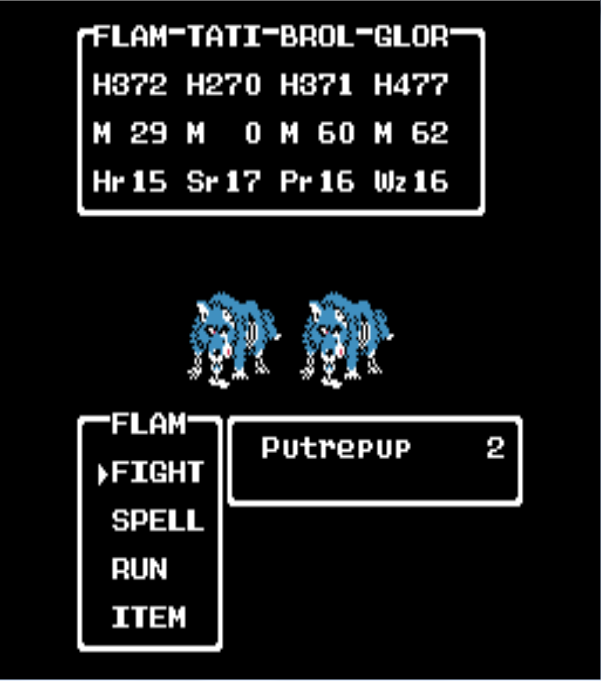
Putrepup
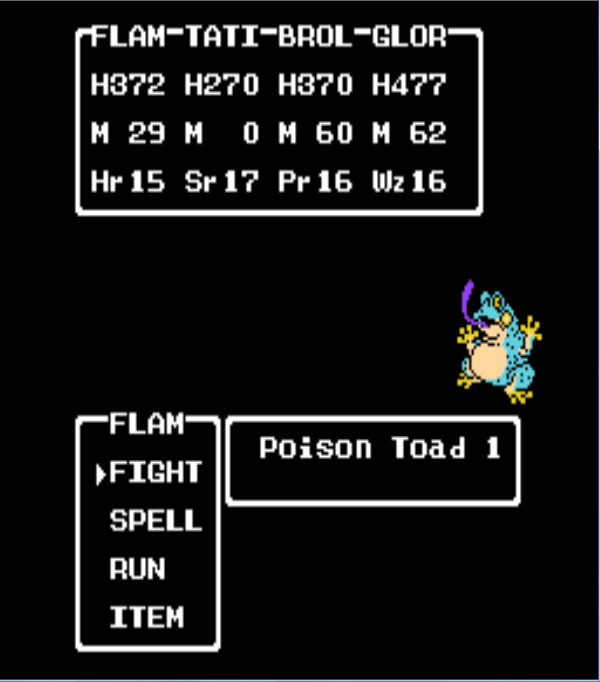
Poison Toad
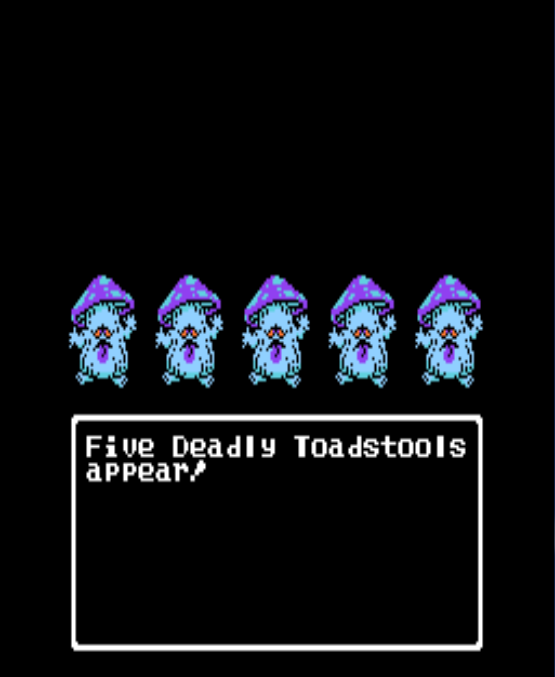
Deadly Toadstool
Vampire

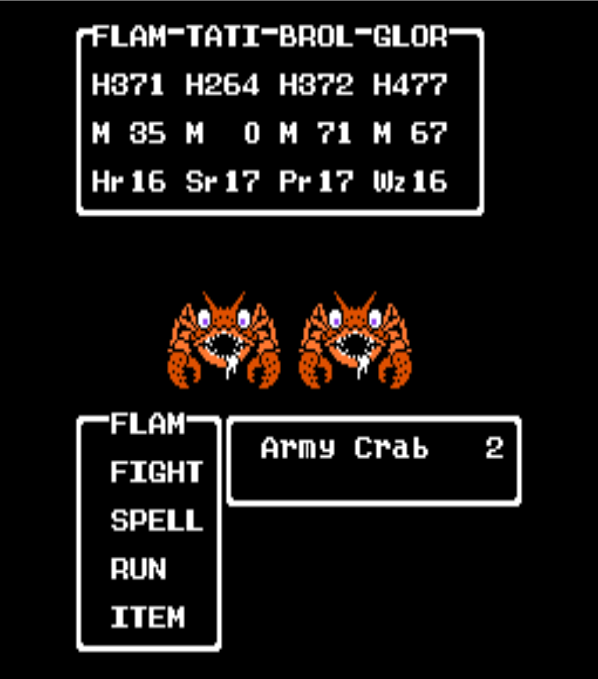
Army Crab
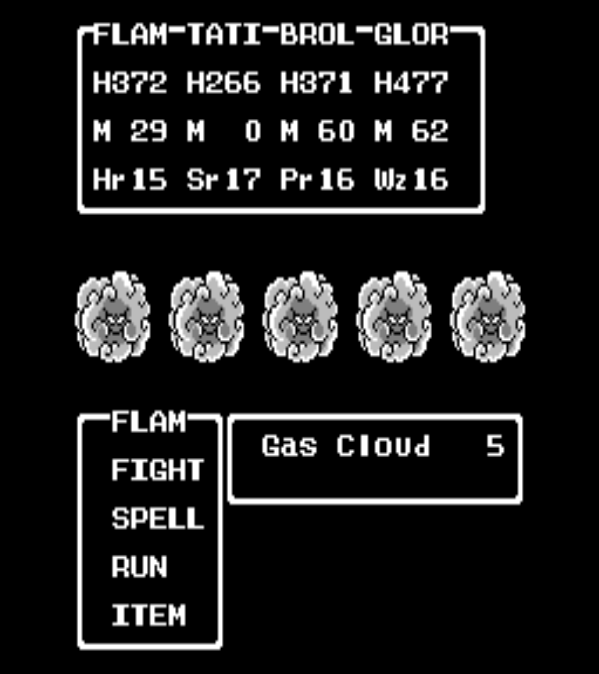
Gas Cloud
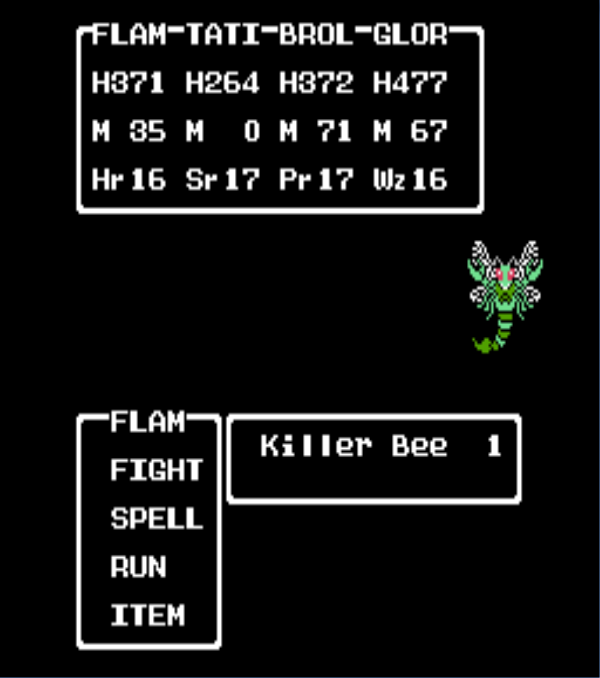
Killer Bee
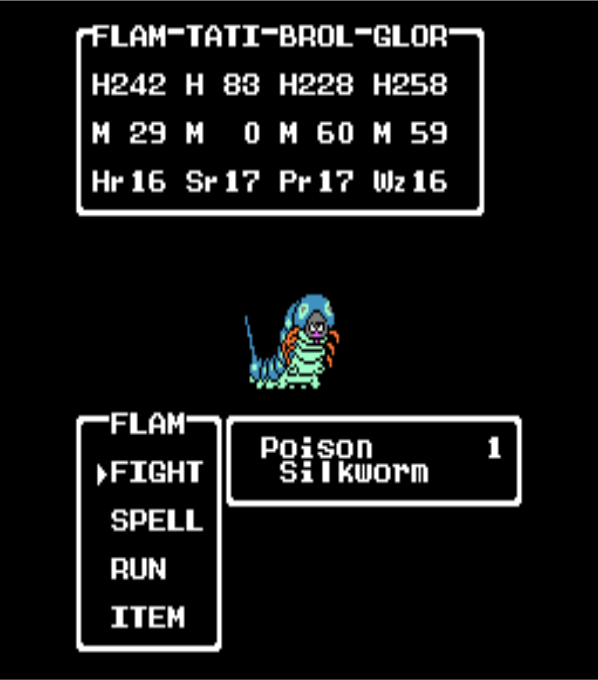
Poison Silkworm
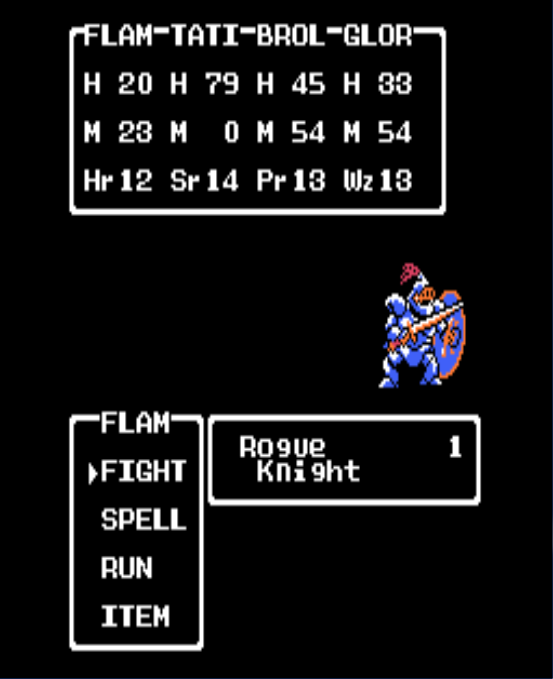
Rogue Knight
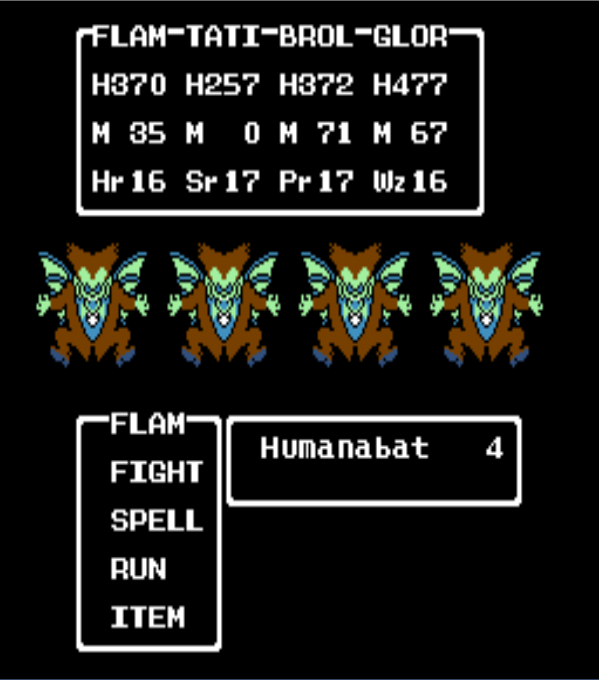
Humanabat
Healer

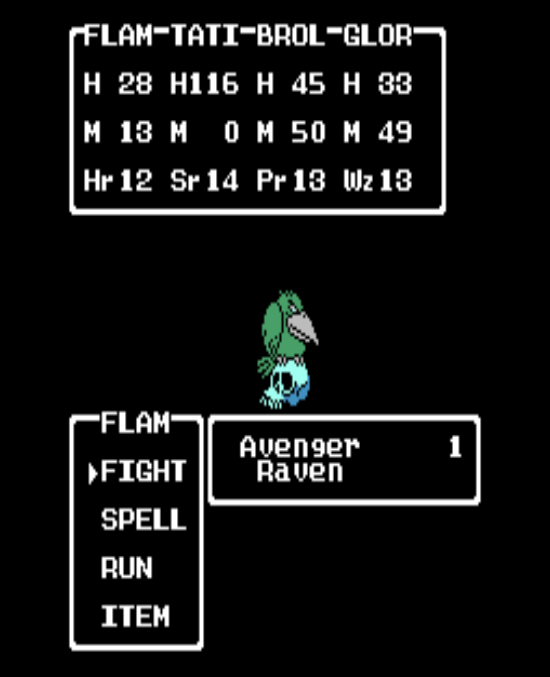
Avenger Raven
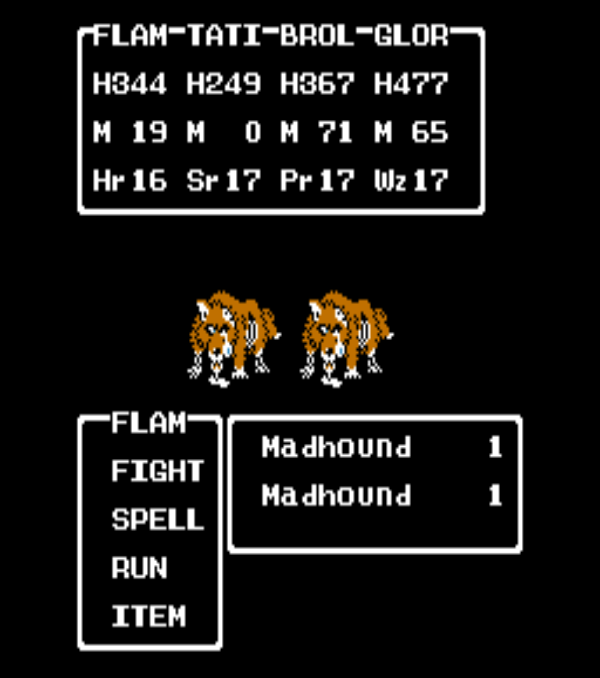
Madhound
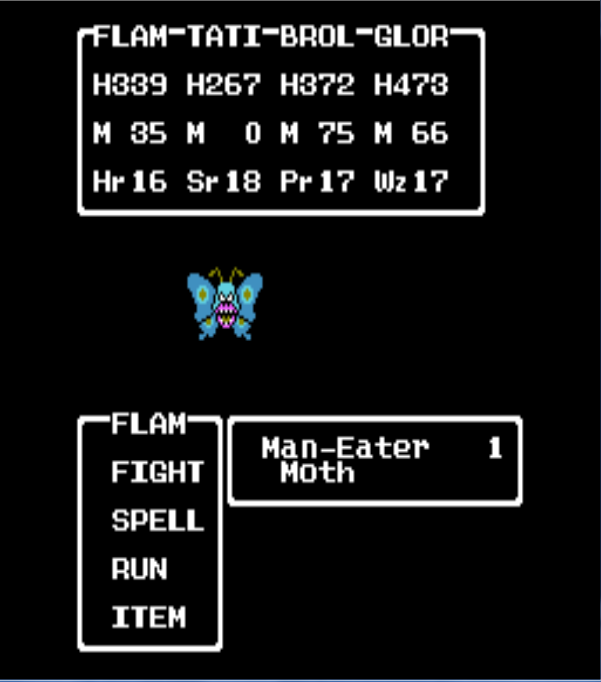
Man-Eater Moth
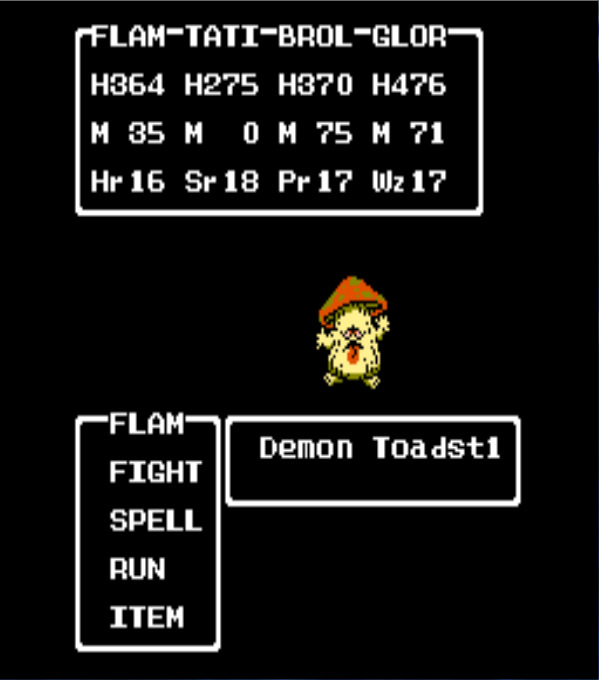
Demon Toadstool
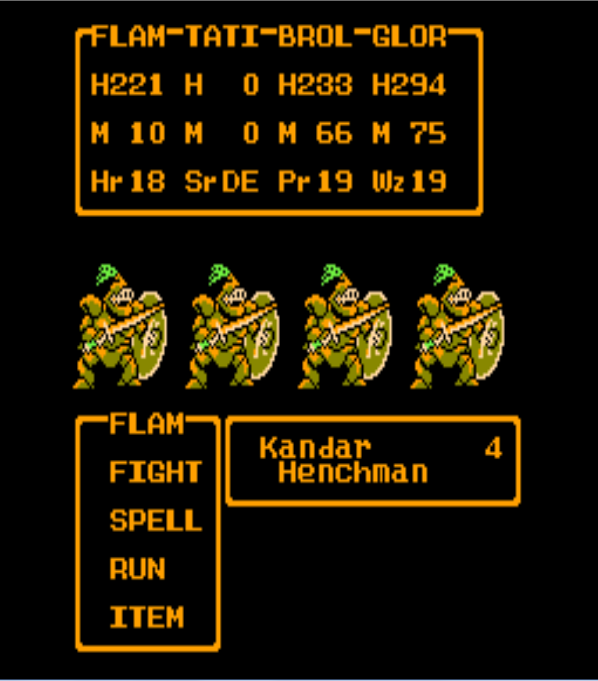
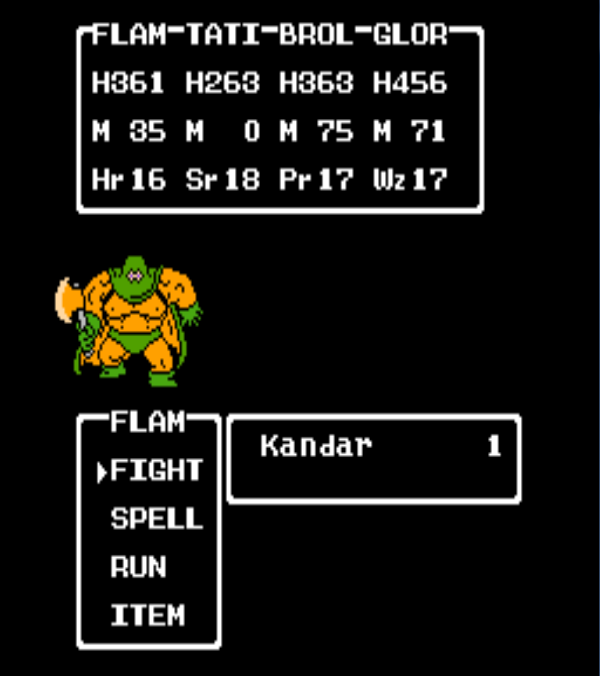
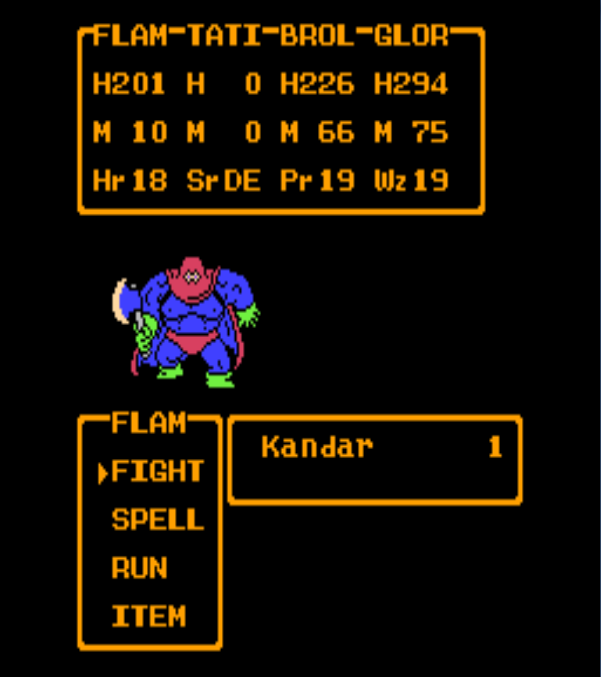
Kandar Henchman [boss]
Kandar Tower of Shanpane [boss]
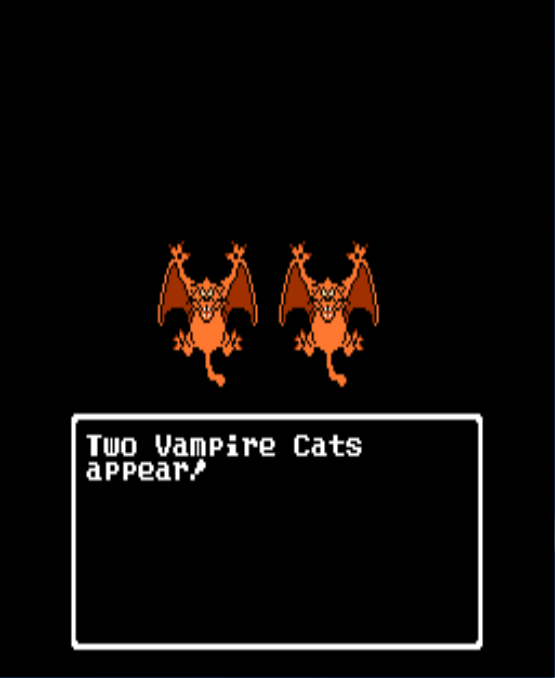
Vampire Cat
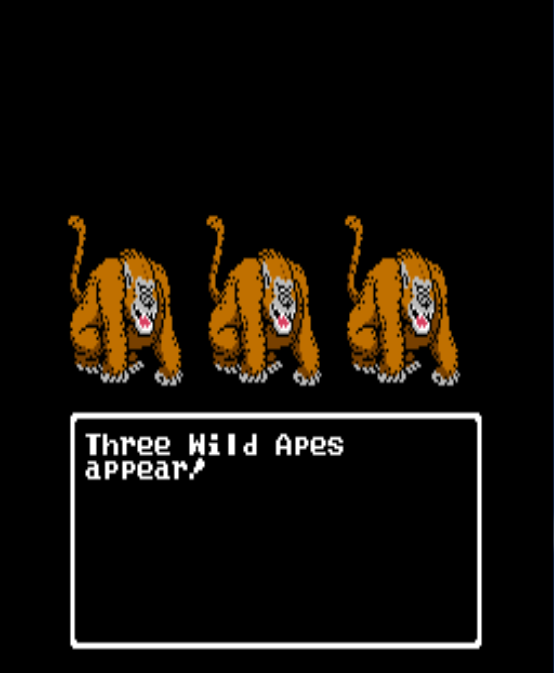
Wild Ape
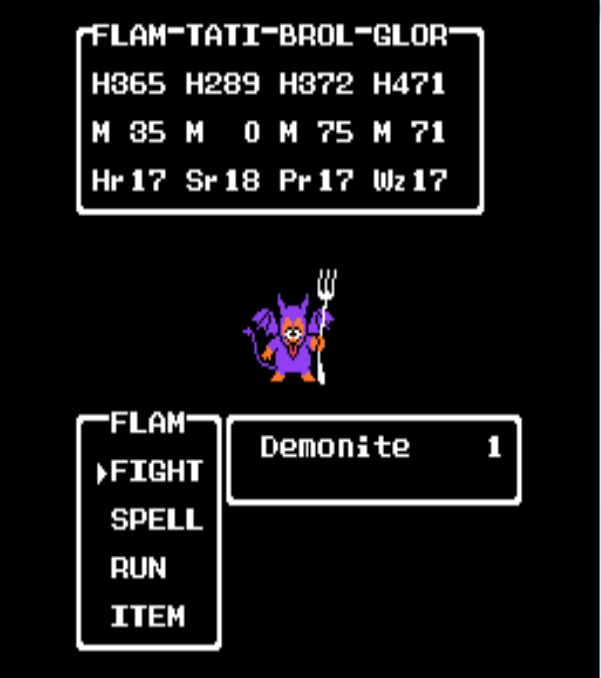
Demonite, in Assaram
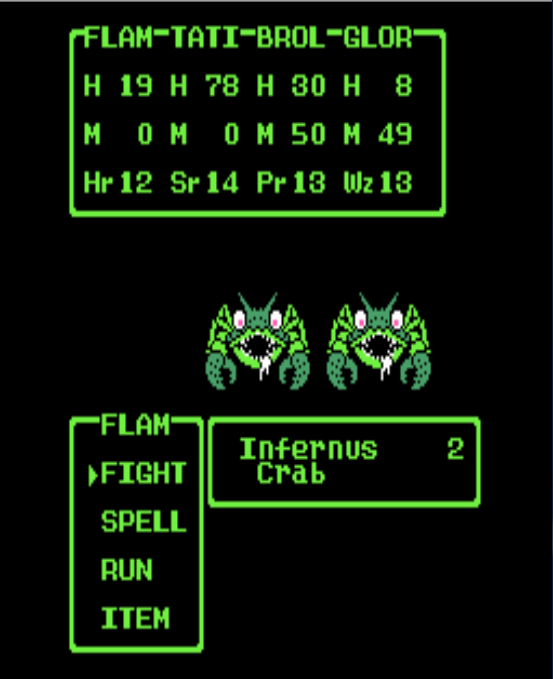
Infernus Crab
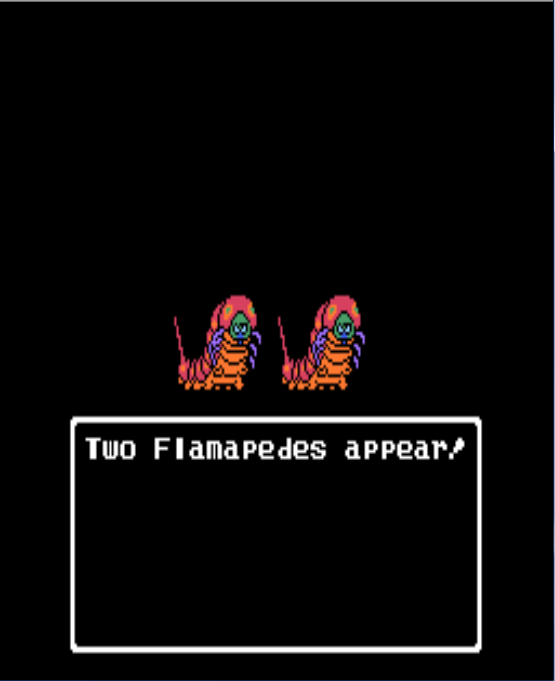
Flamapede
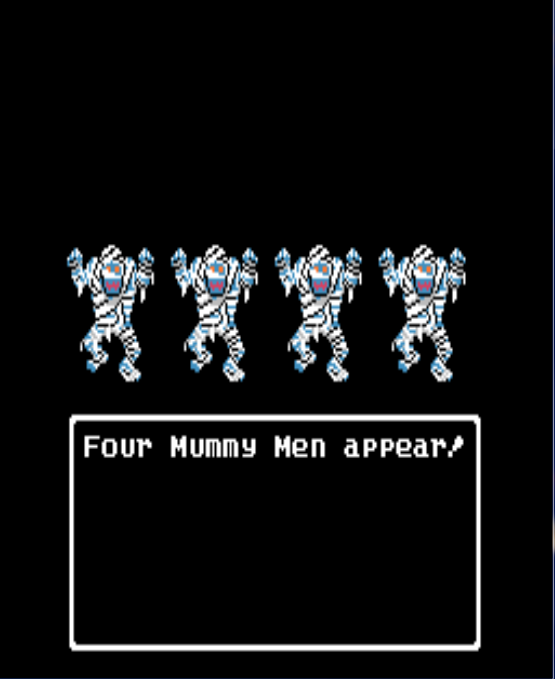
Mummy Man
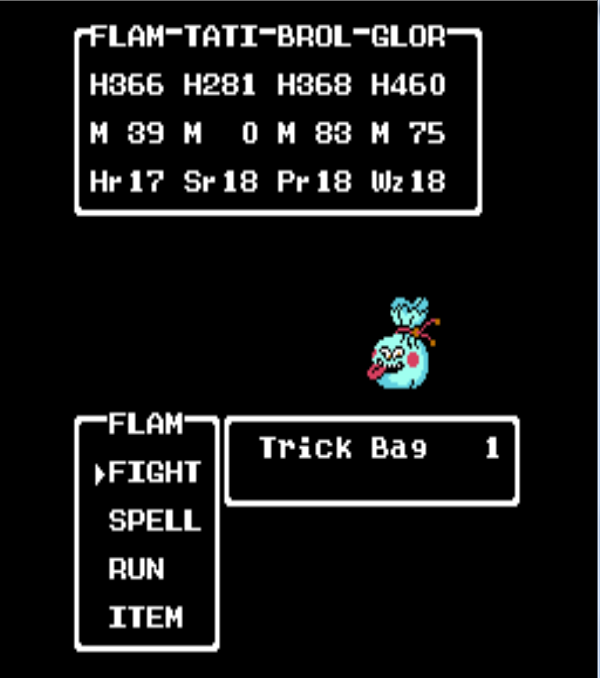
Trick Bag
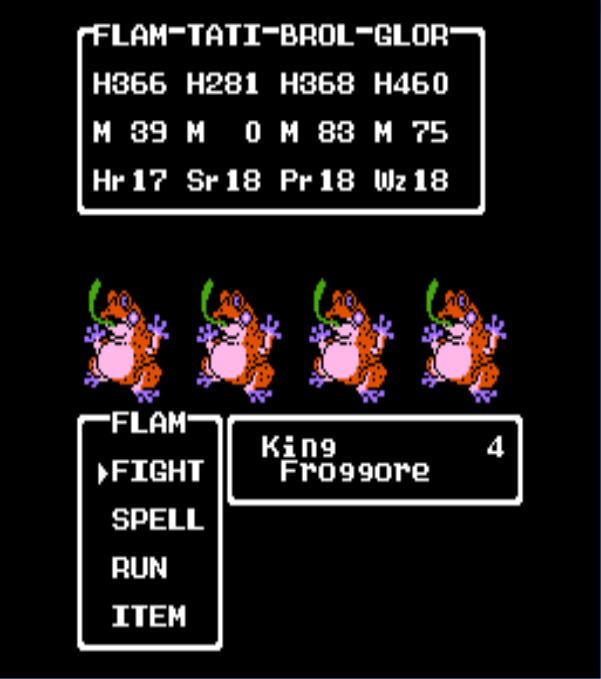
King Froggore
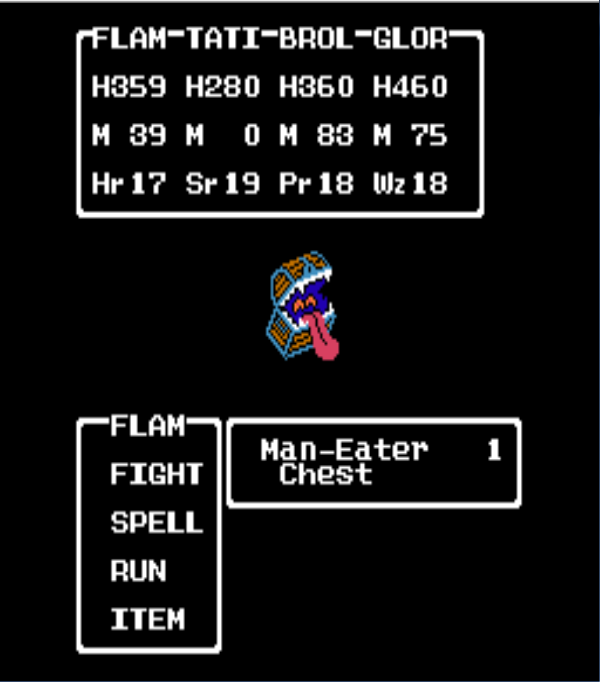
Man-Eater Chest
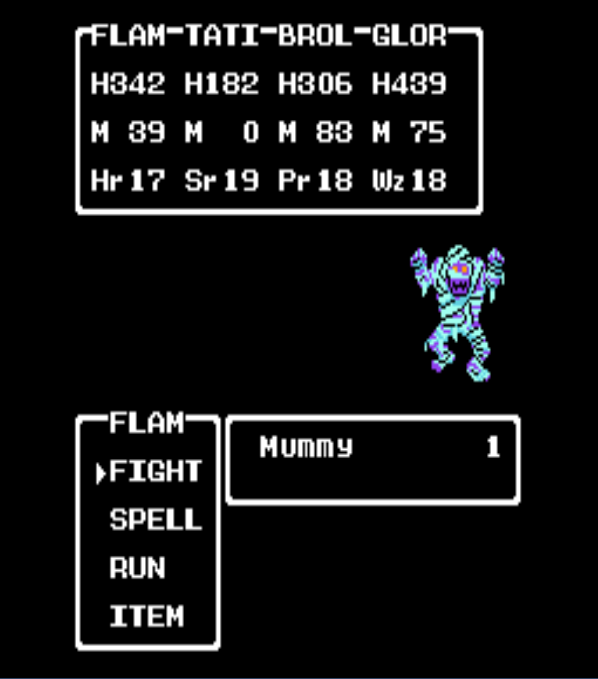
Mummy
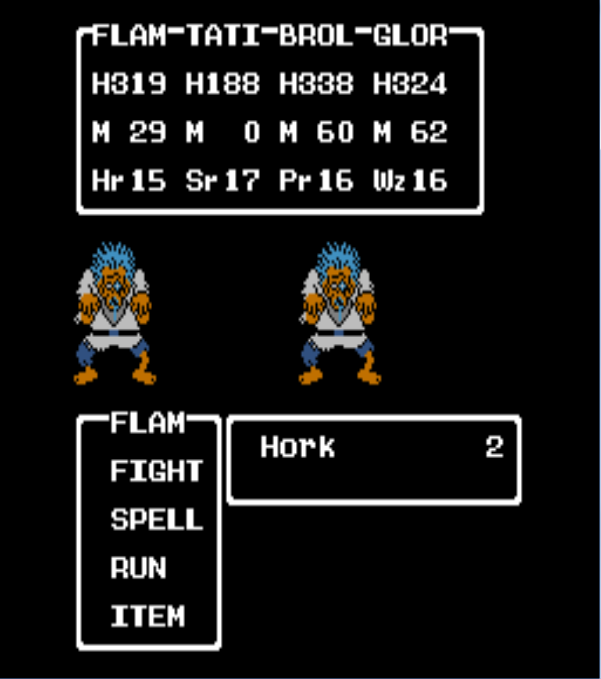
Hork
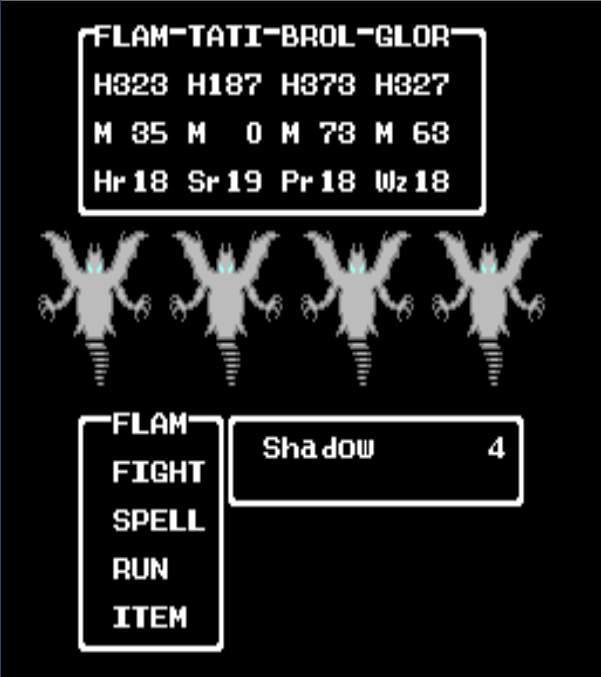
Shadow
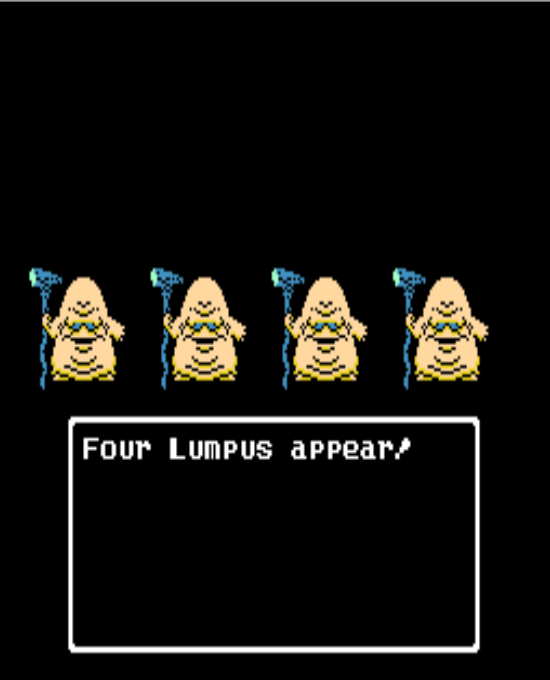
Lumpus
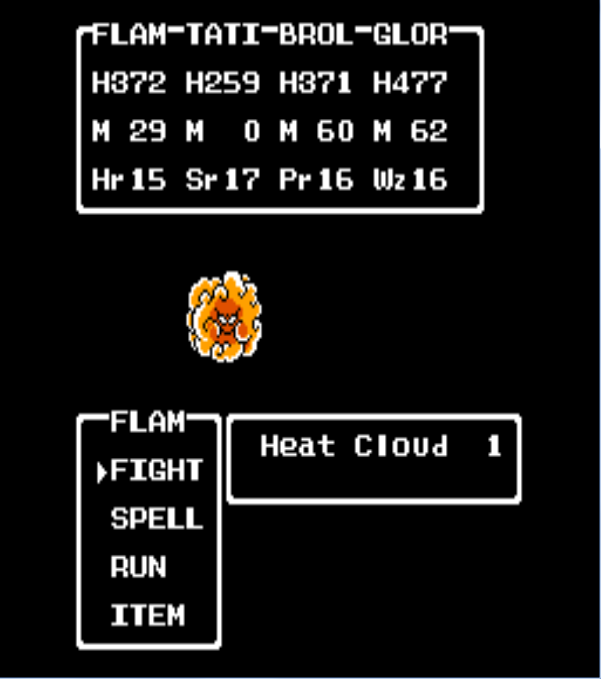
Heat Cloud
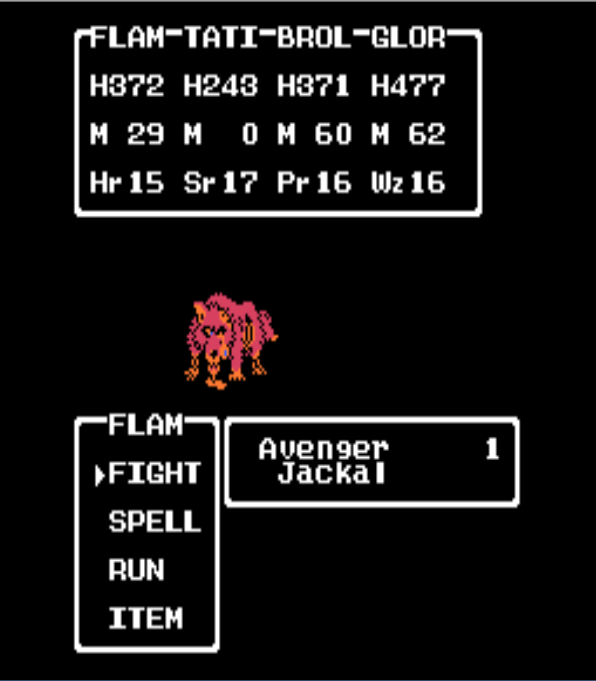
Avenger Jackal
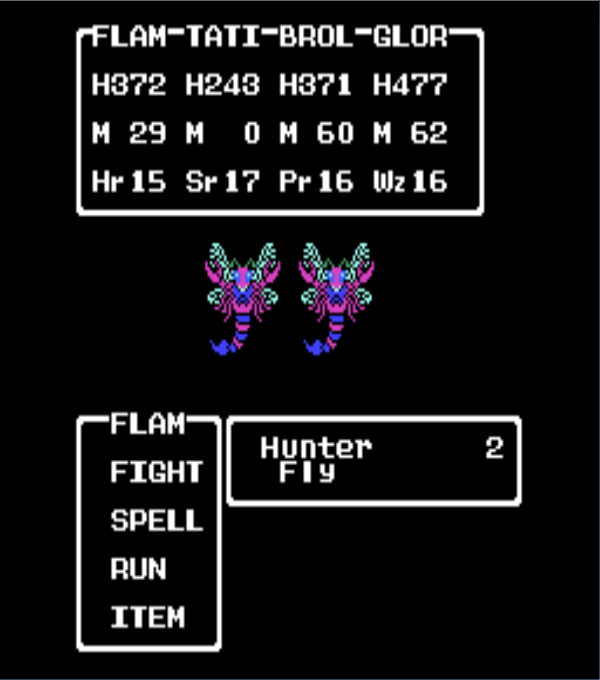
Hunter Fly
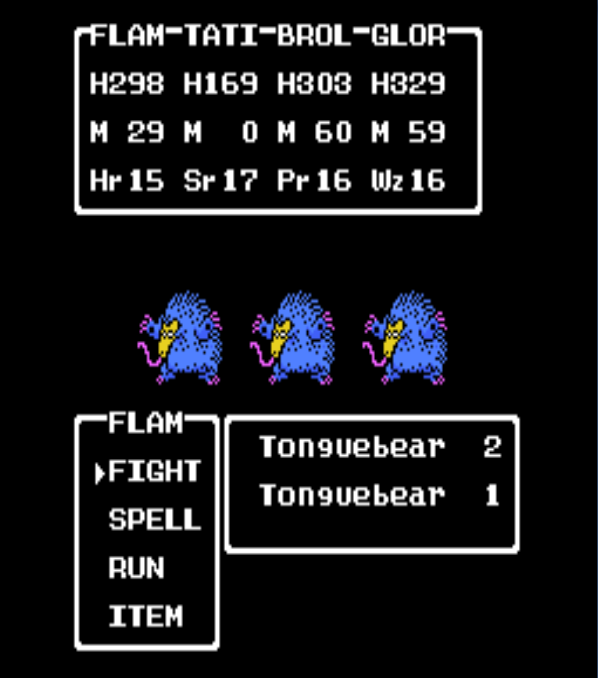
Tonguebear
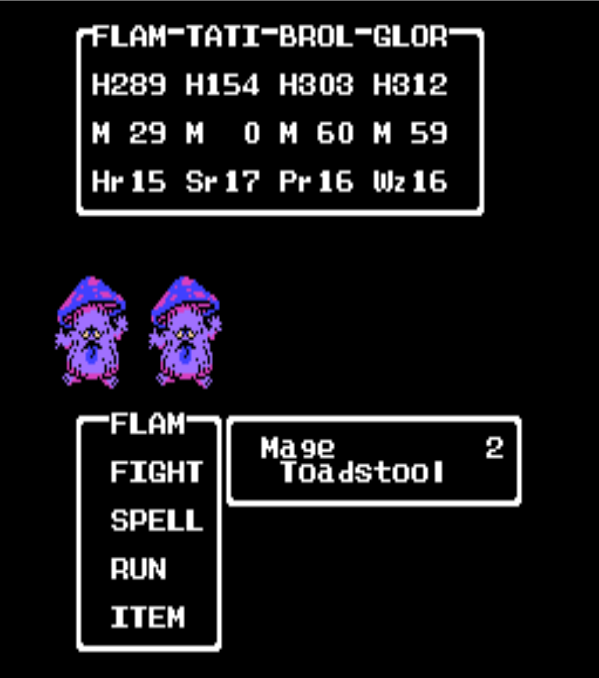
Mage Toadstool
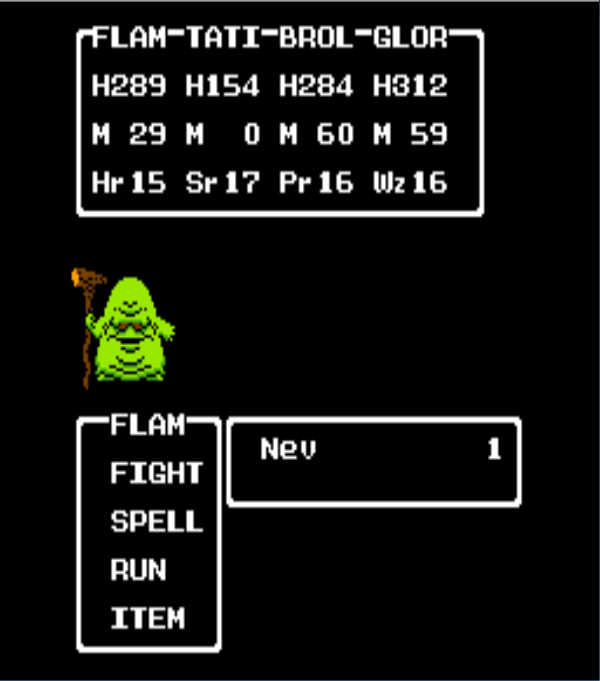
Nev
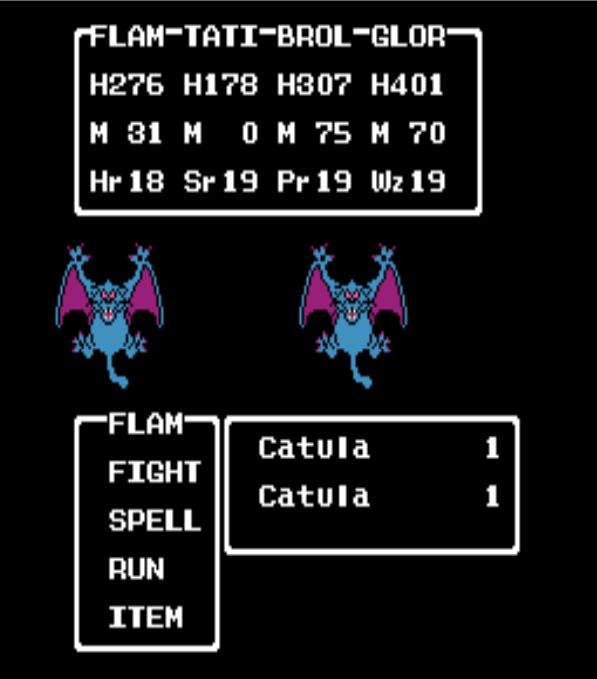
Catula
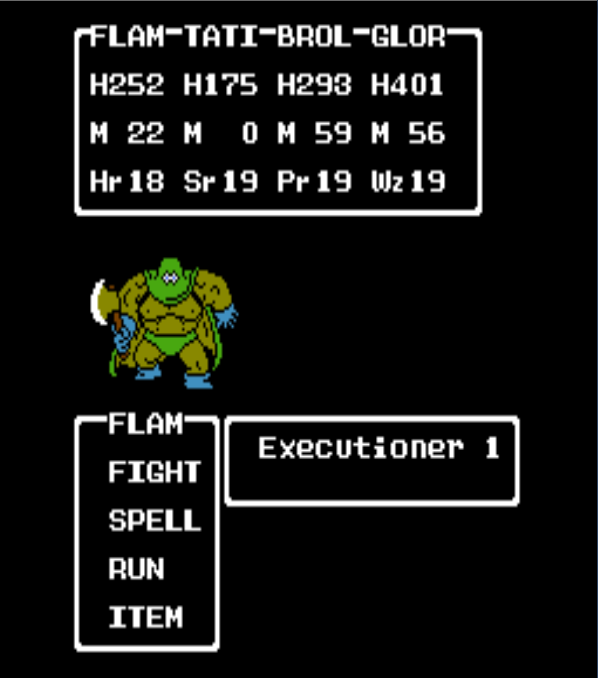
Executioner
Kandar Baharata Cave [boss]
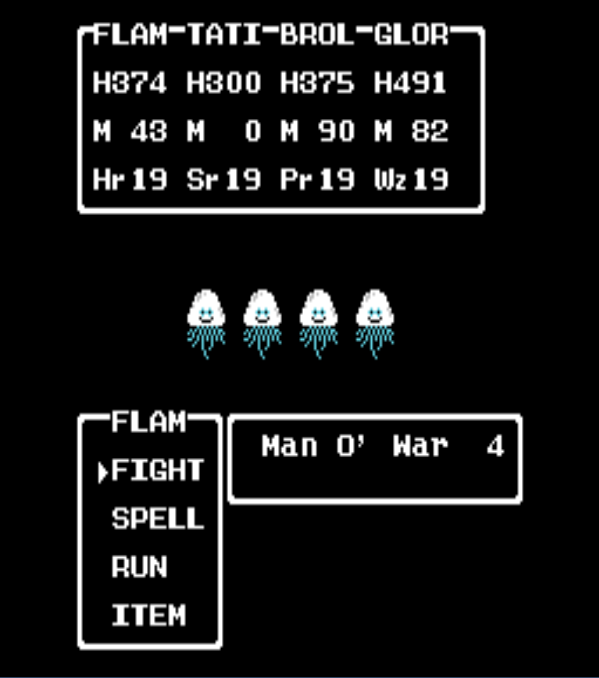
Man O' War
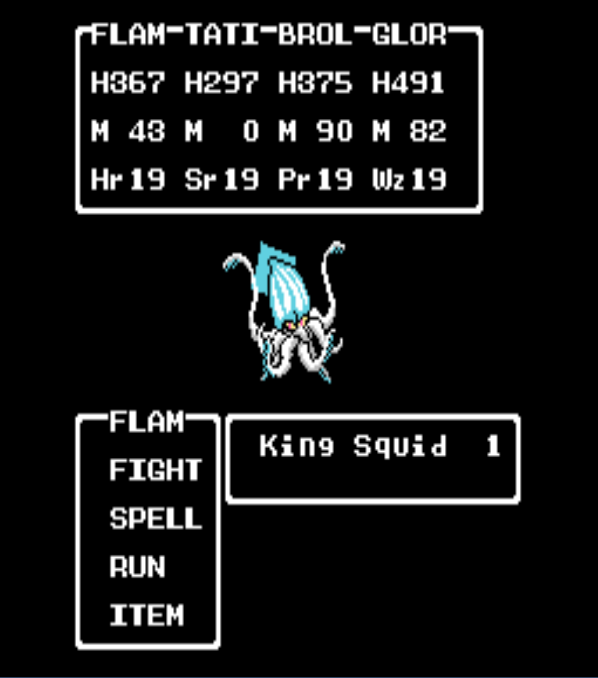
King Squid
Goategon

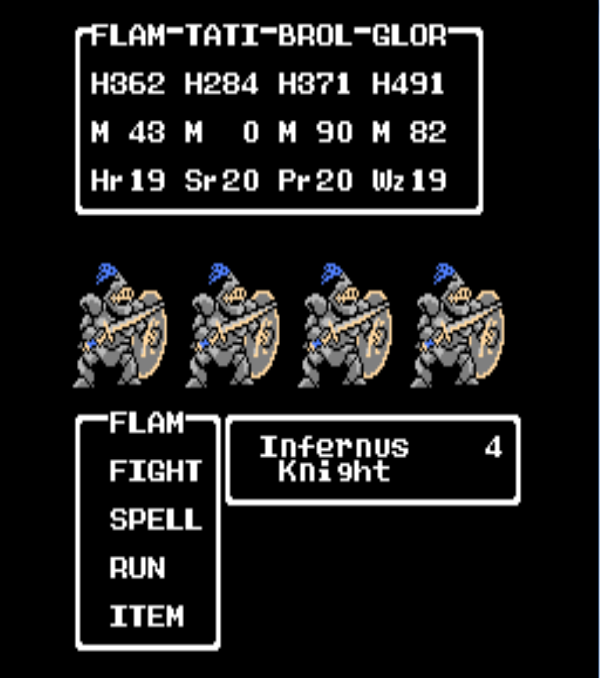
Infernus Knight
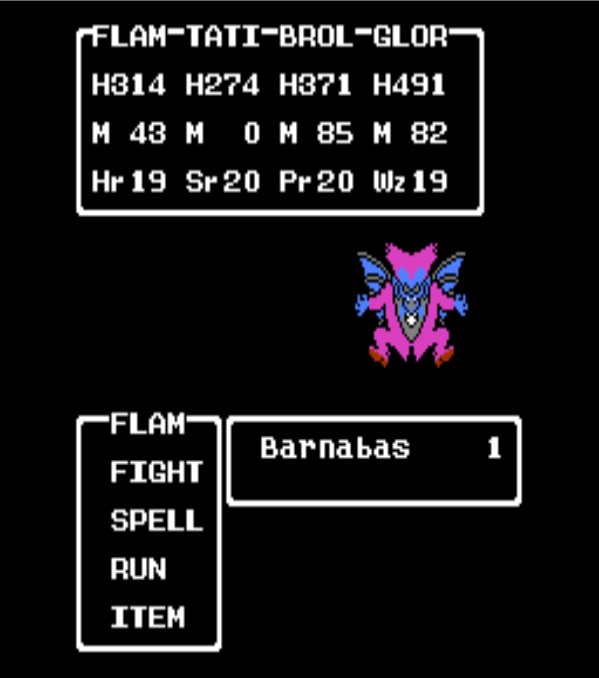
Barnabas
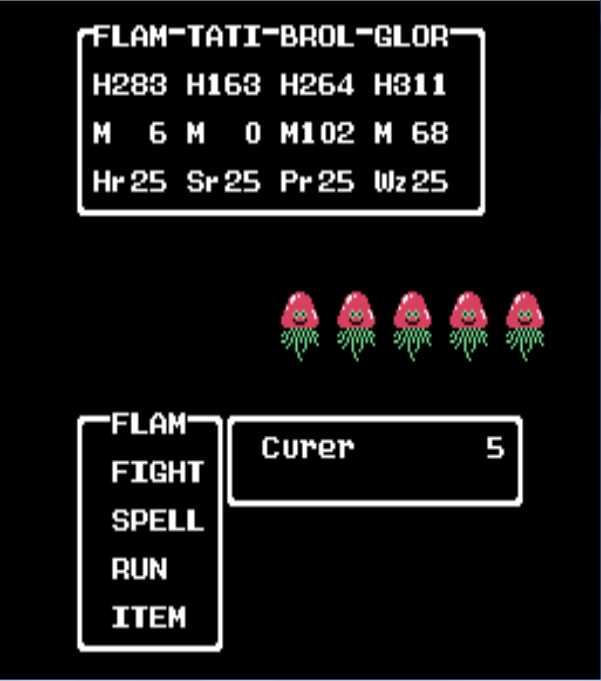
Curer
Witch

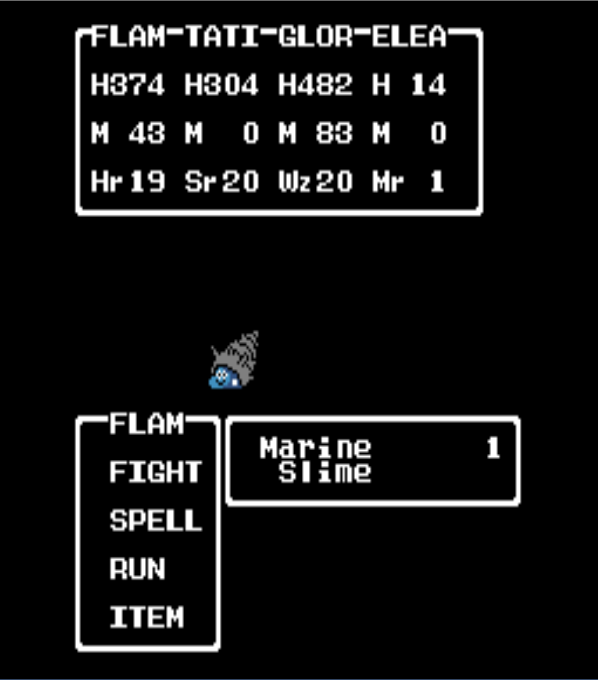
Marine Slime
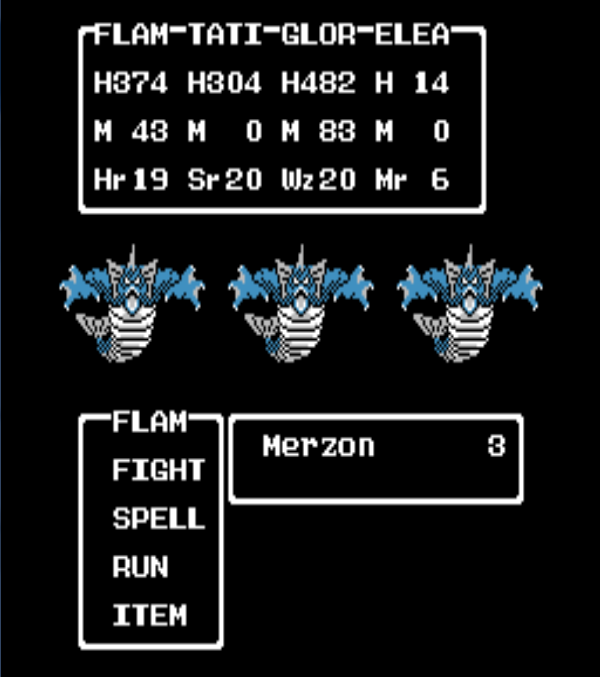
Merzon
Hades' Condor

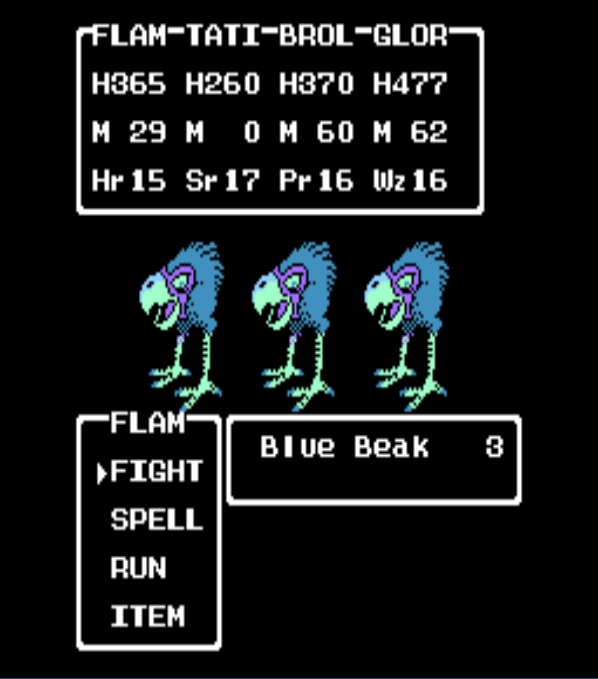
Blue Beak
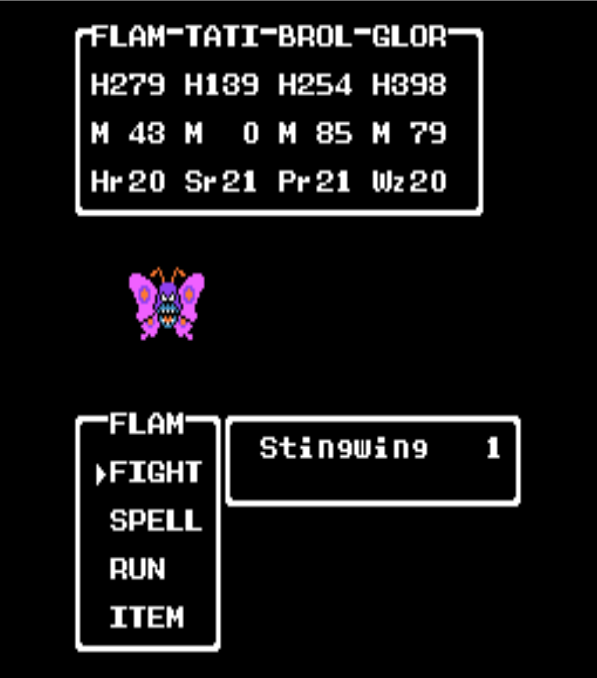
Stingwing
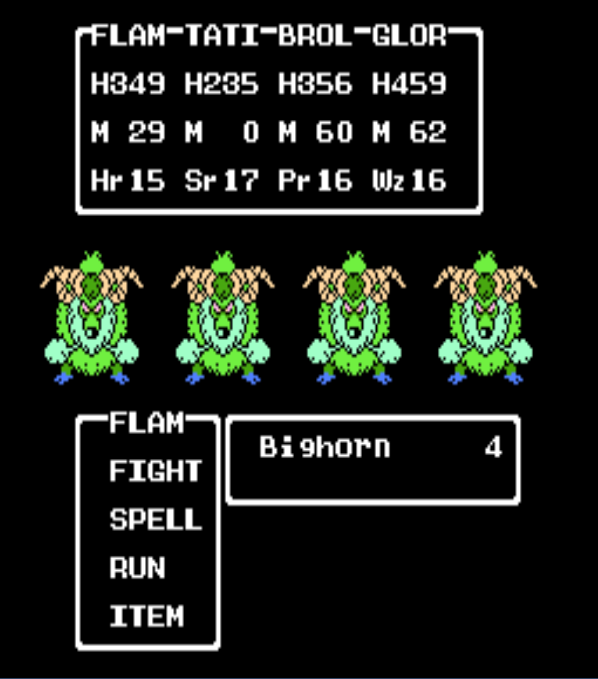
Bighorn
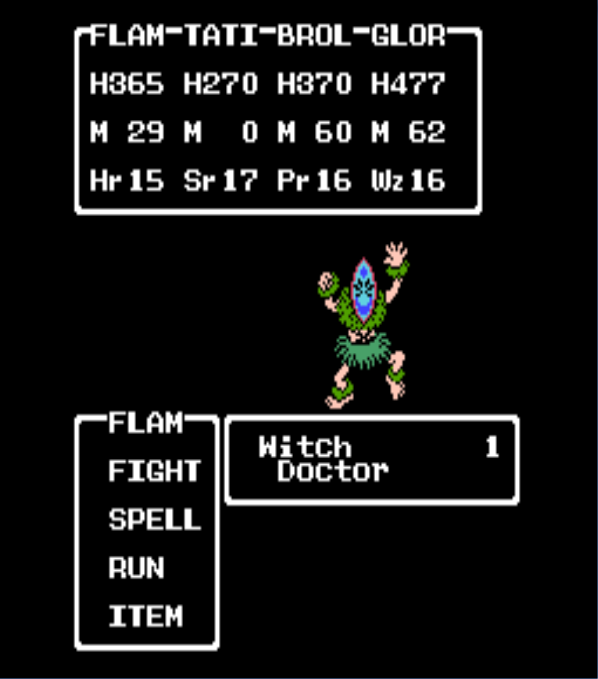
Witch Doctor
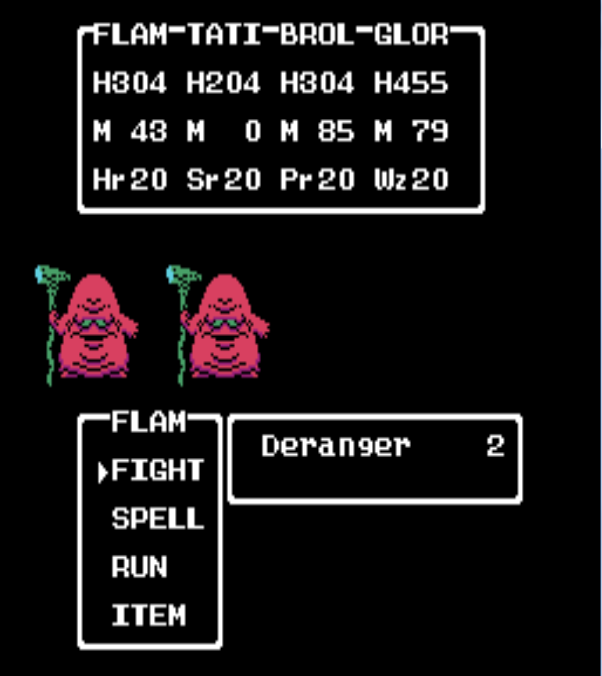
Deranger
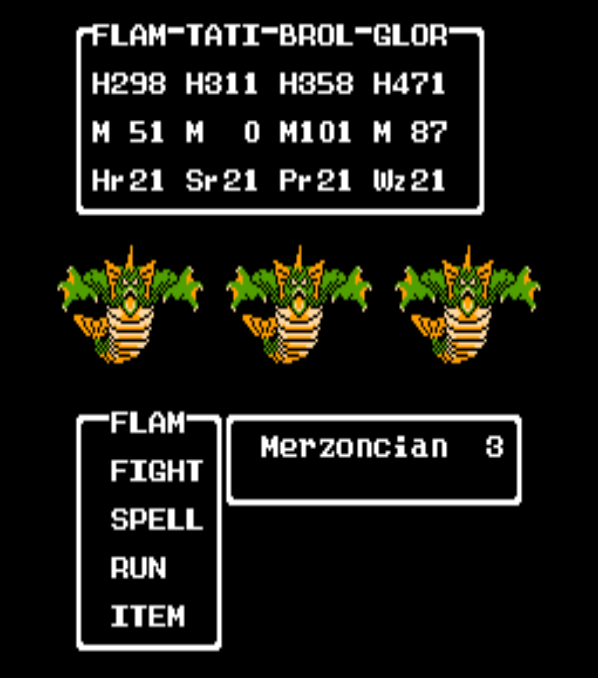
Merzonician
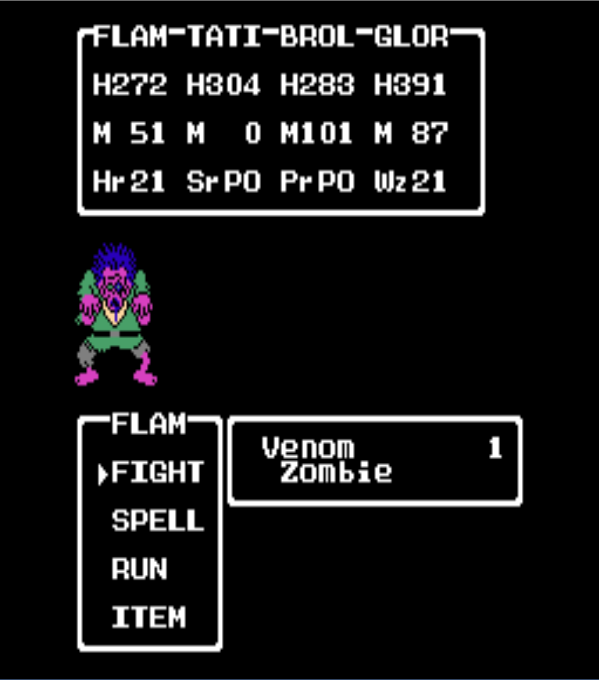
Venom Zombie
Crabus

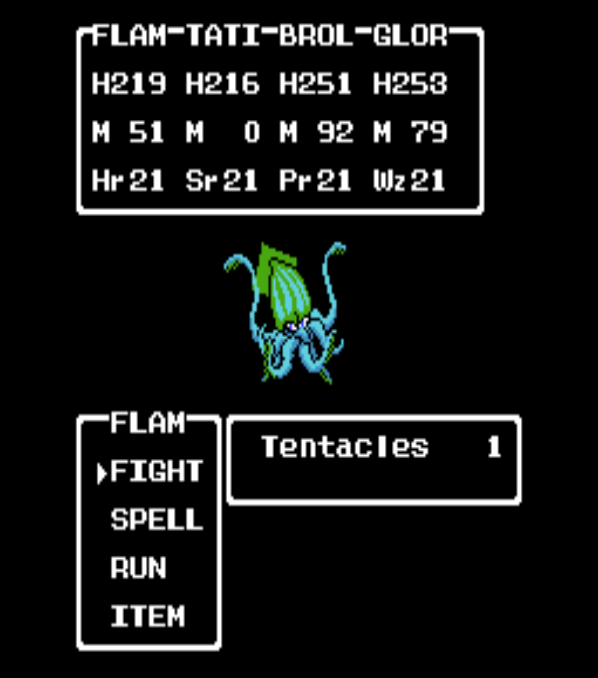
Tentacles
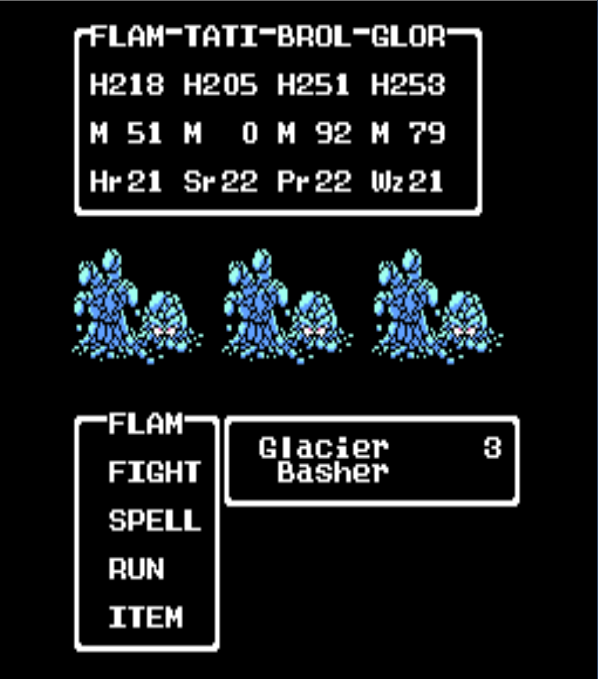
Glacier Basher
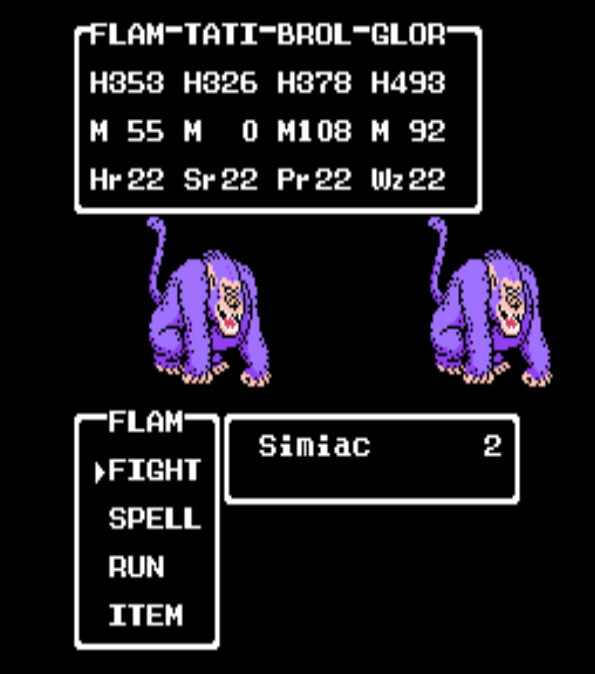
Simiac
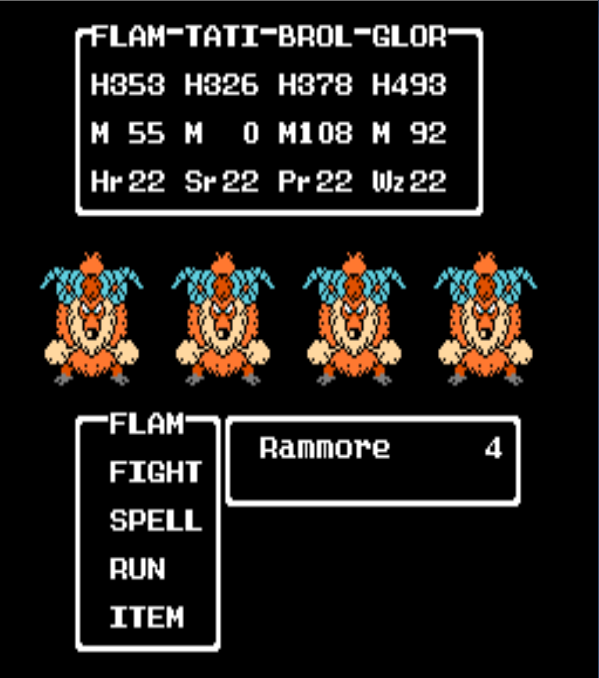
Rammore
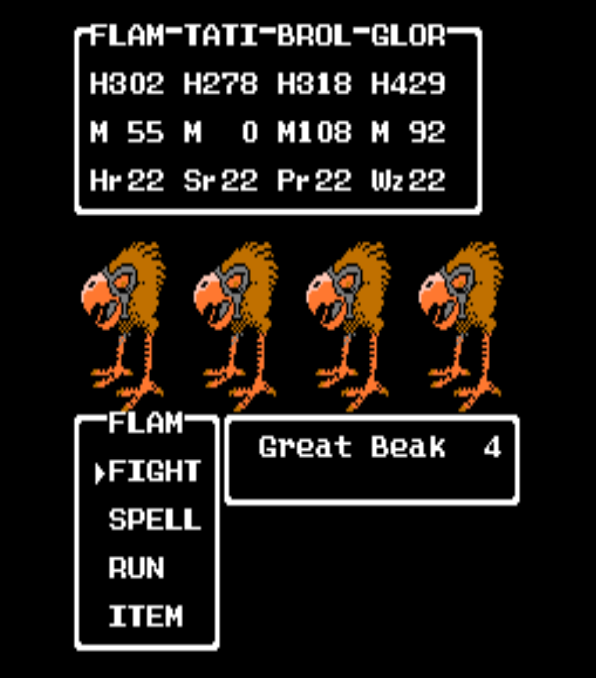
Great Beak
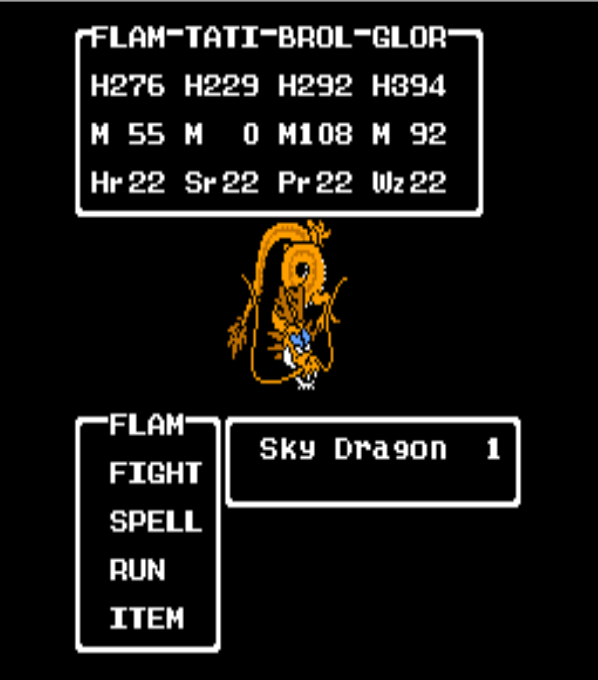
Sky Dragon
Garuda

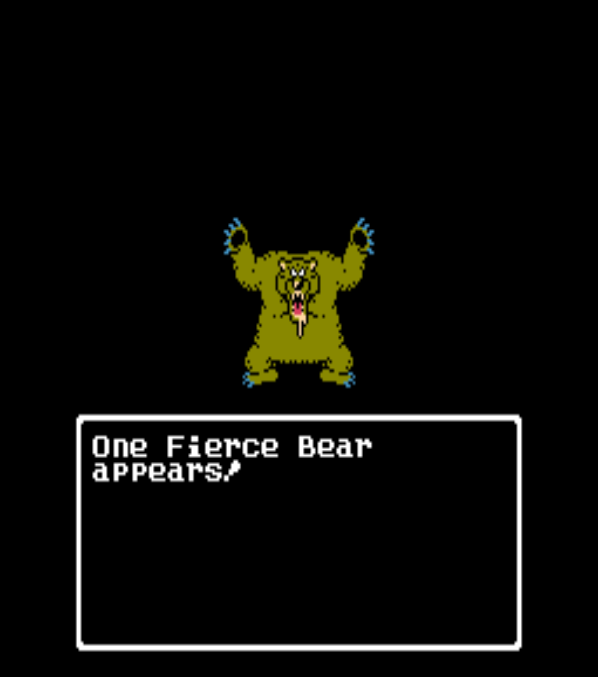
Fierce Bear
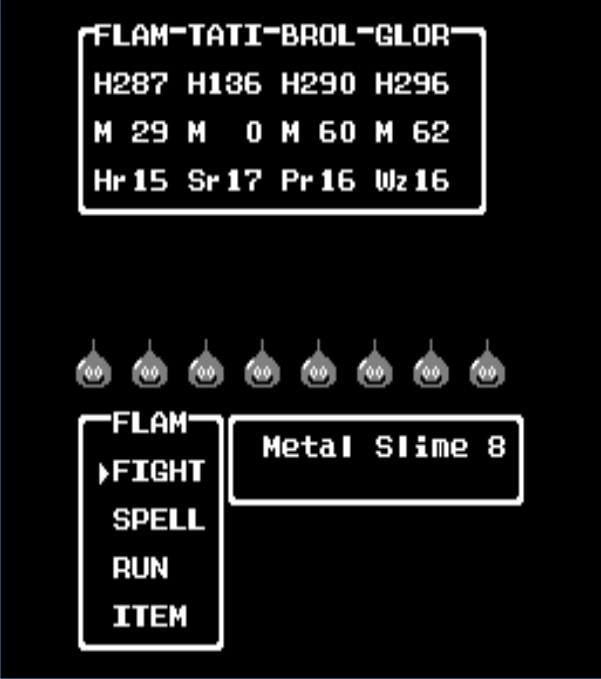
Metal Slime
Avenger Beak

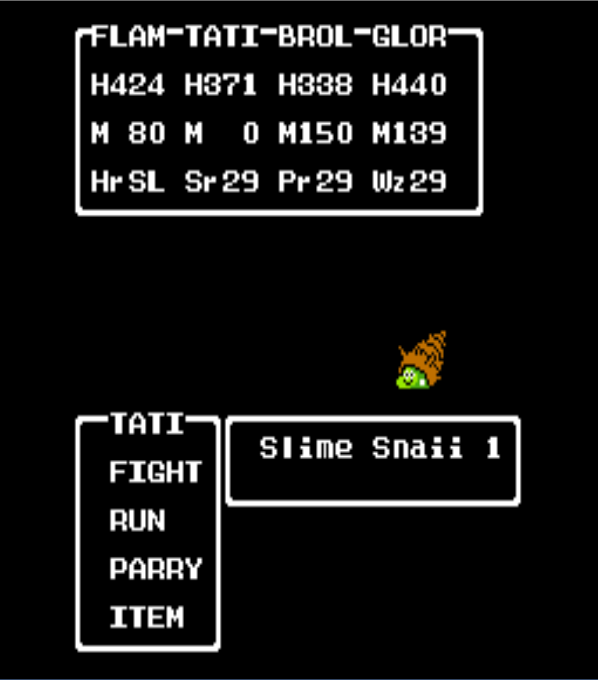
Slime Snaii
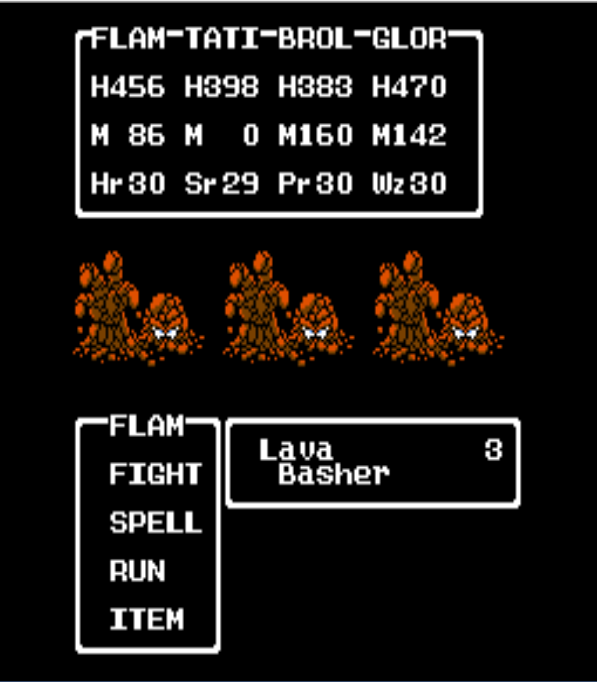
Lava Basher
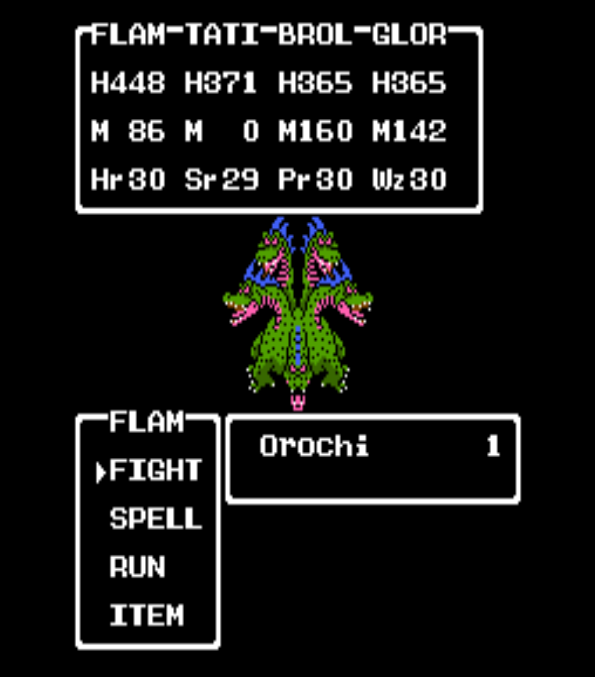
Orochi in Jipang Cave [boss]

Orochi / Himiko [boss]
Eliminator

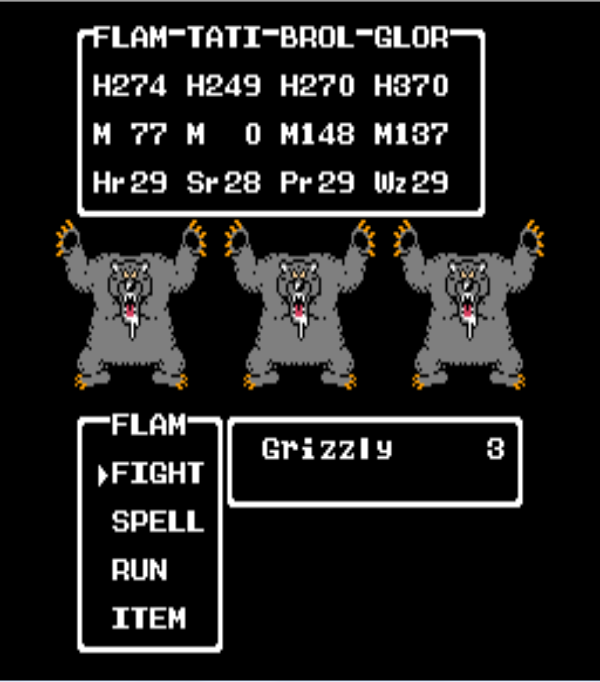
Grizzly
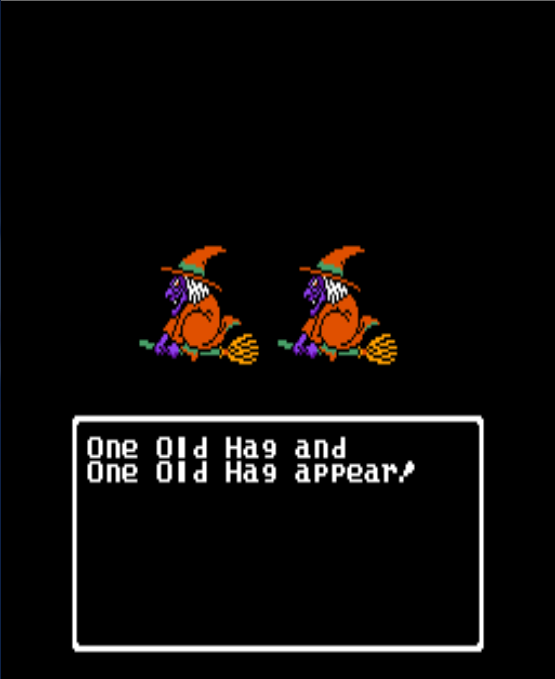
Old Hag
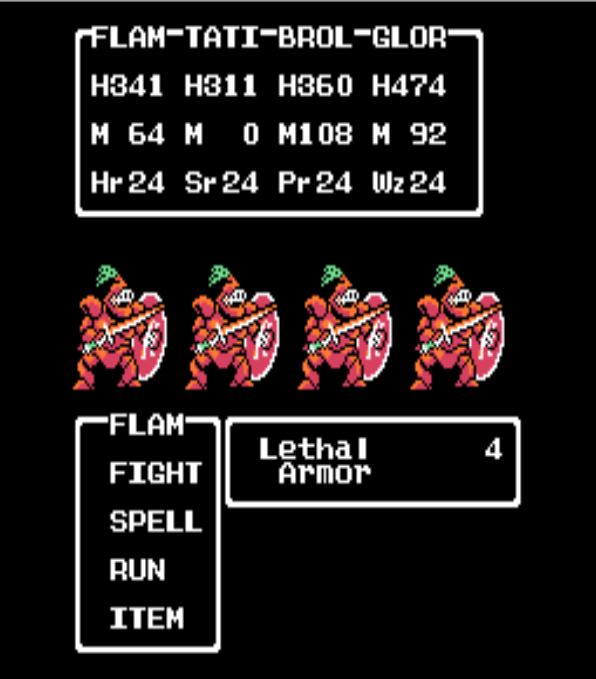
Lethal Armor
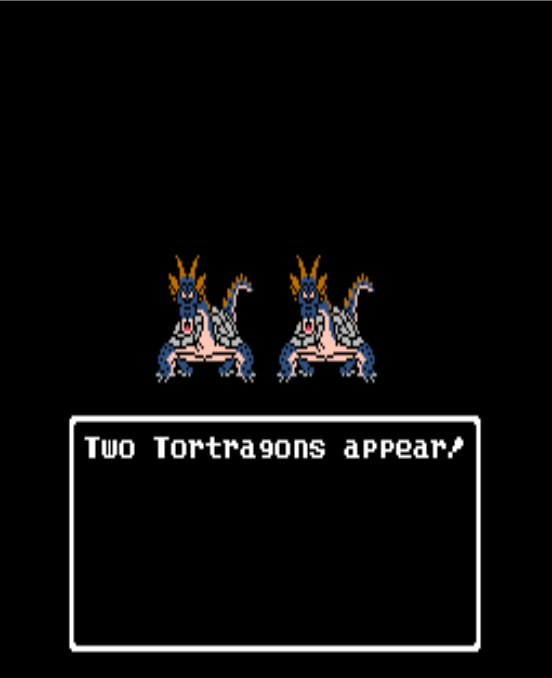
Tortragon
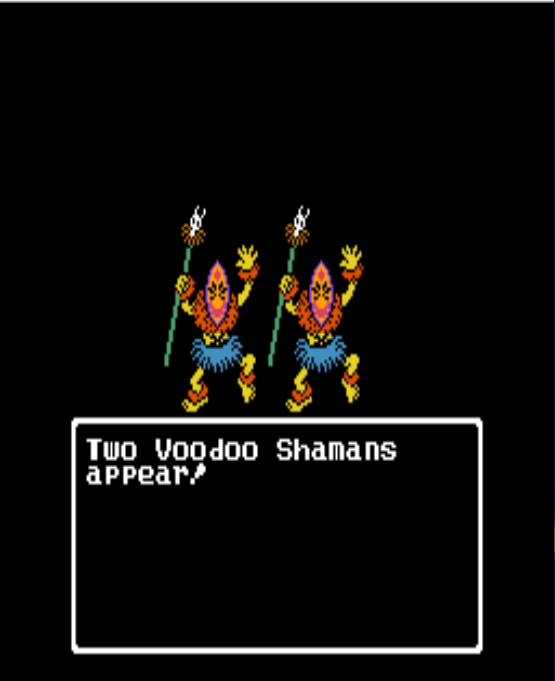
Voodoo Shaman
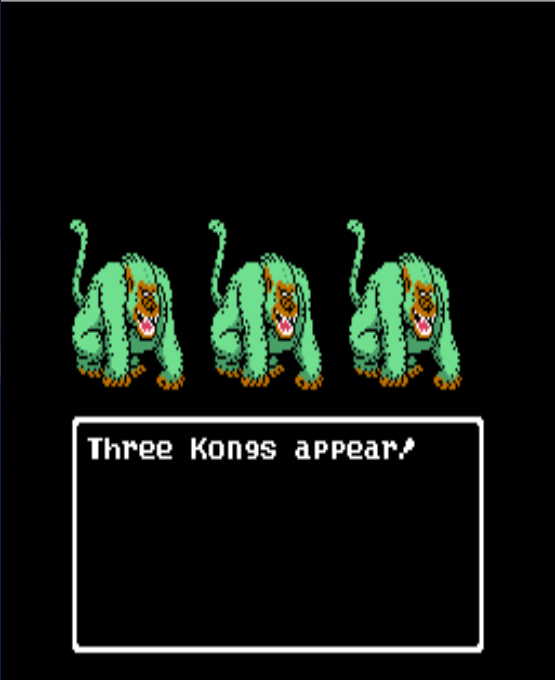
Kong
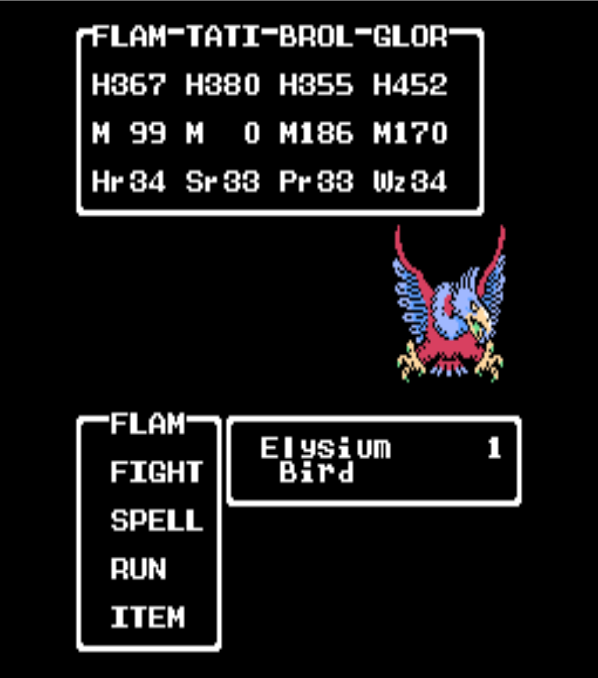
Elysium Bird
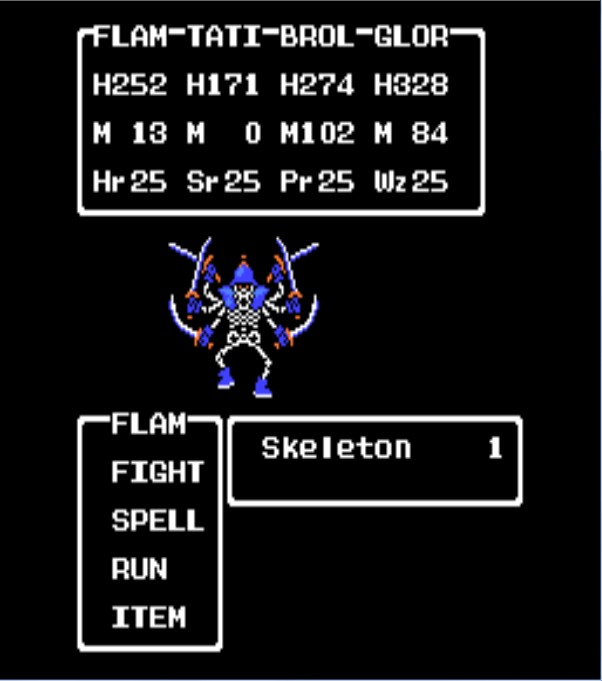
Skeleton
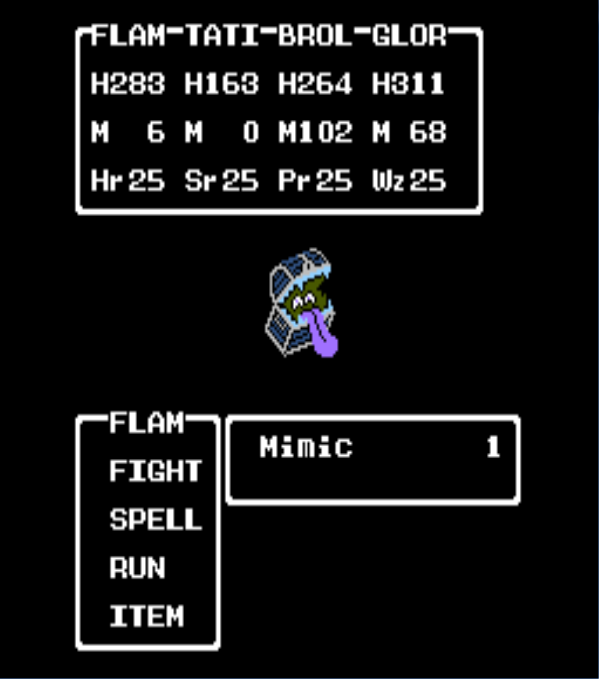
Mimic
Terror Shadow

Boss Troll Samanao Castle

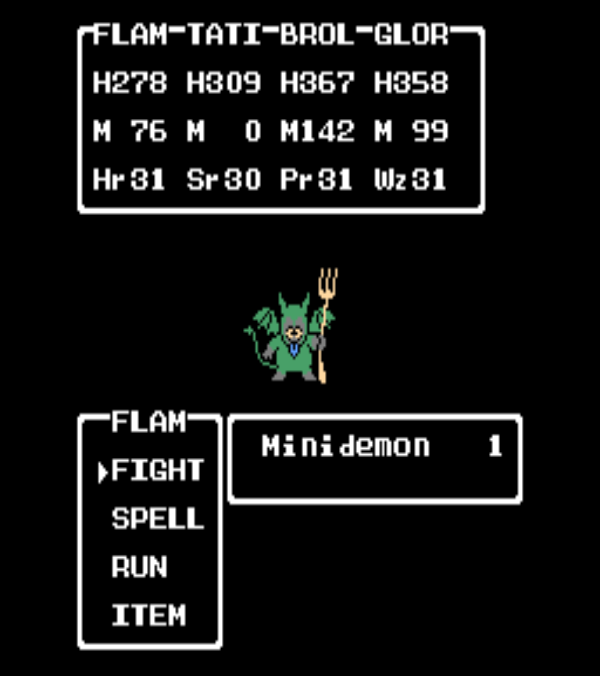
Minidemon, on Phantom Ship
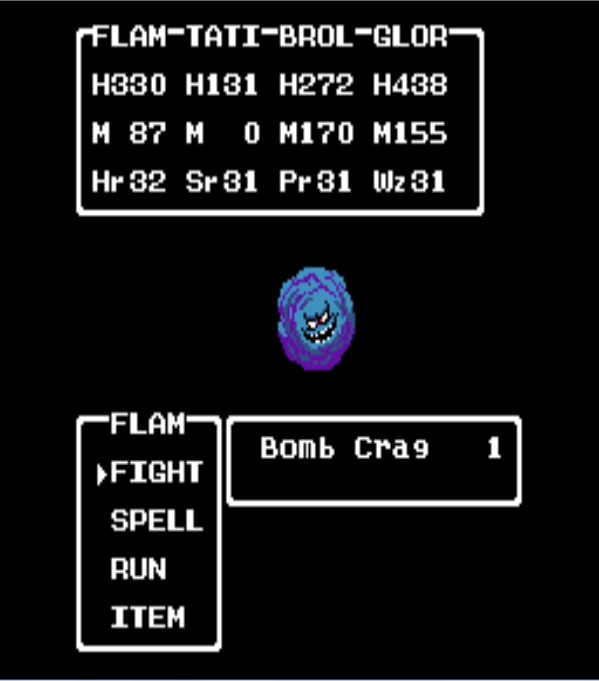
Bomb Crag
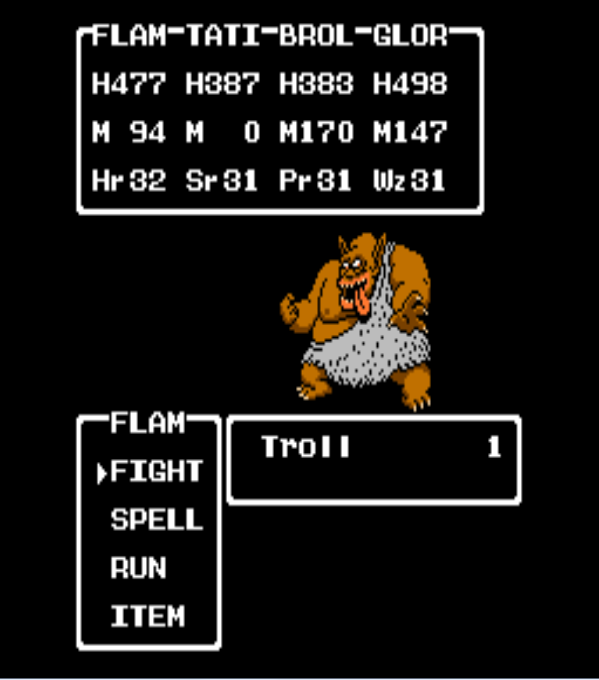
Troll
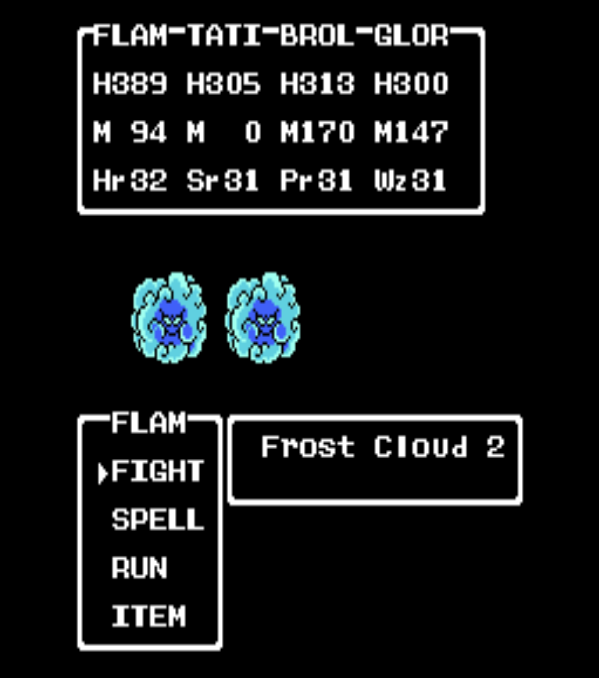
Frost Cloud
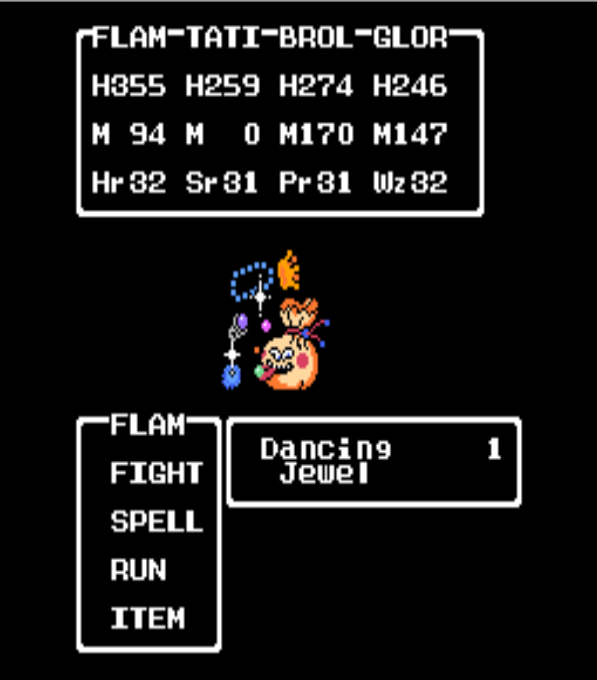
Dancing Jewel
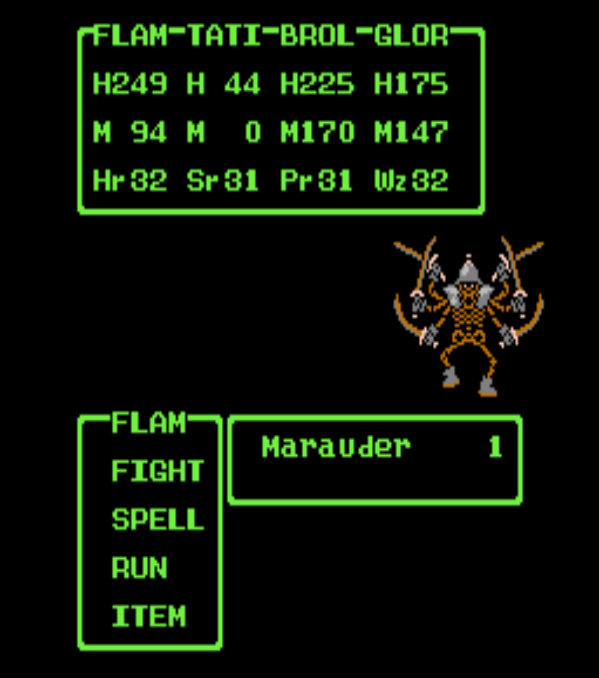
Marauder
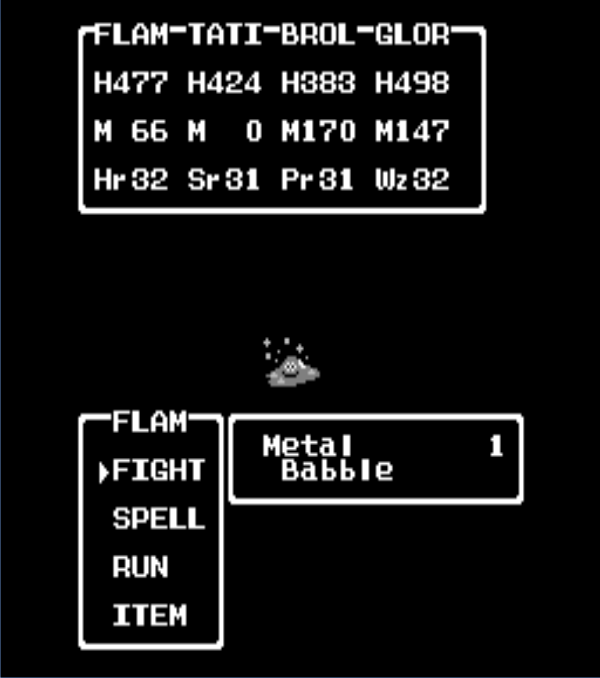
Metal Babble
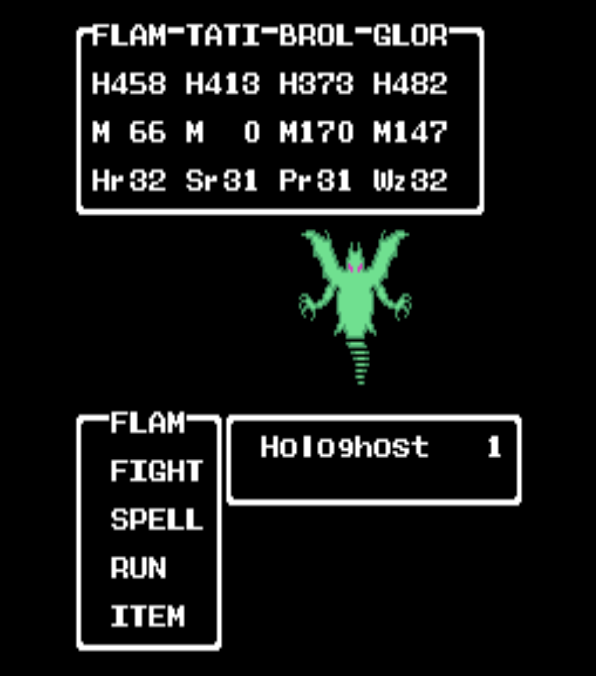
Hologhost
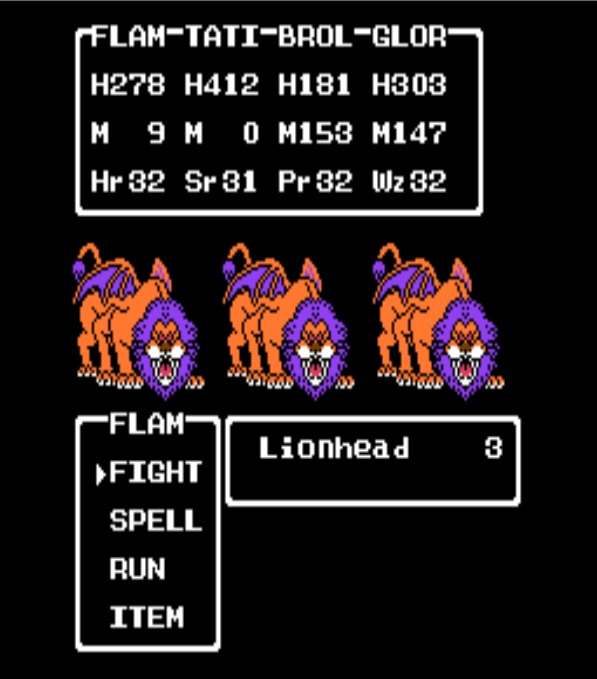
Lionhead
King Tortragon

Stone Hulk

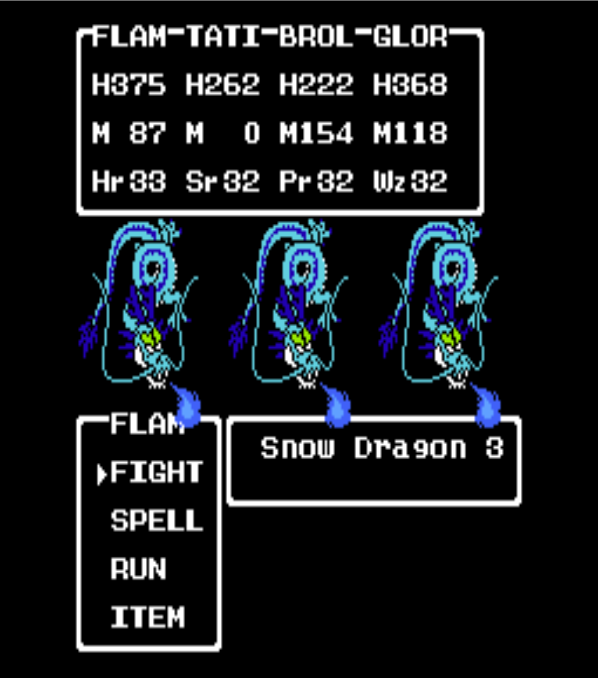
Snow Dragon
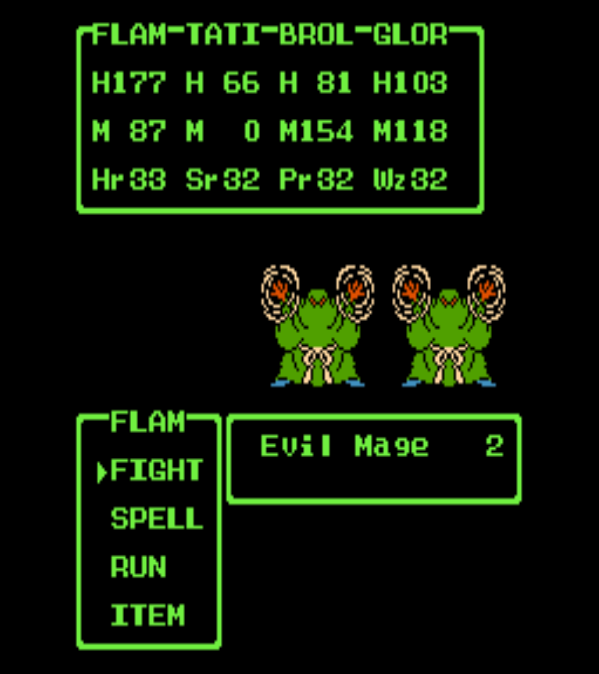
Evil Mage
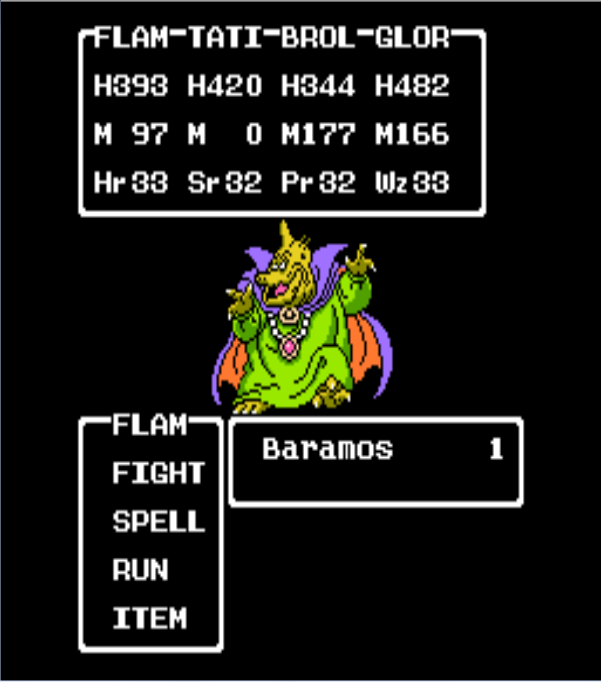
Baramos [boss]
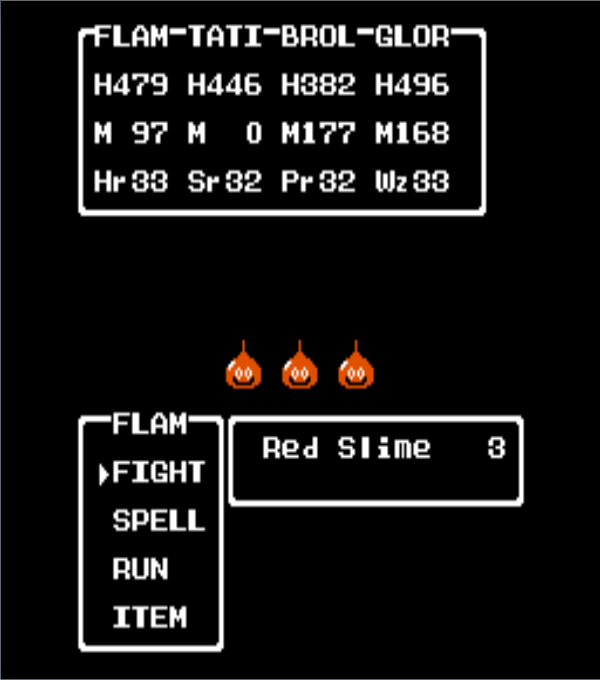
Red Slime
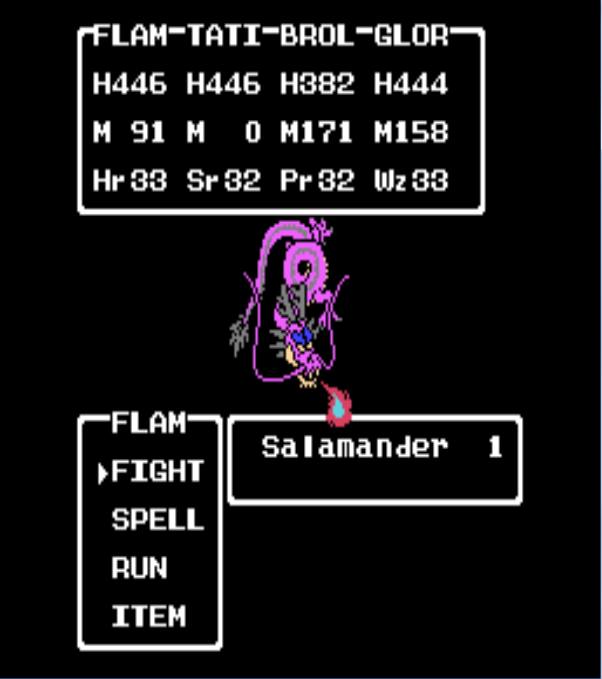
Salamander (dragon)
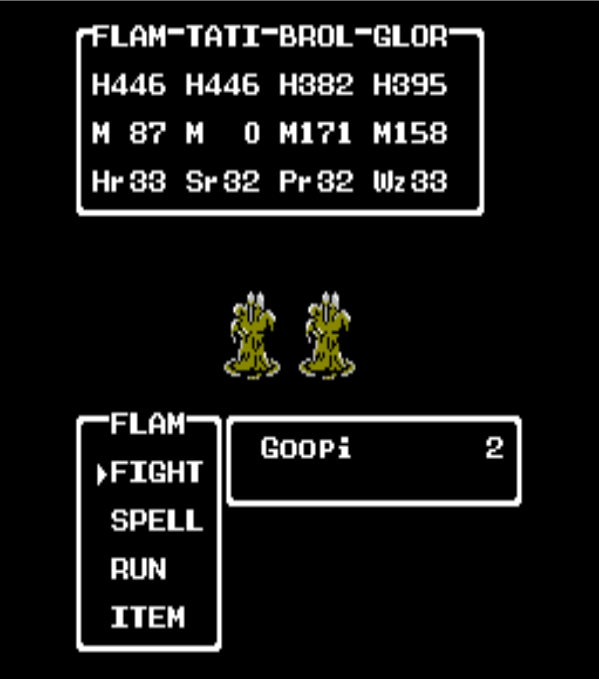
Goopi
Granite Titan

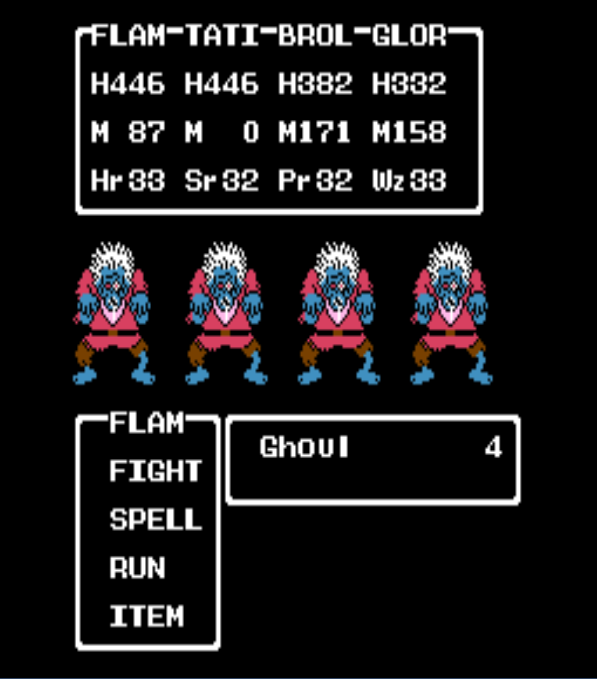
Ghoul
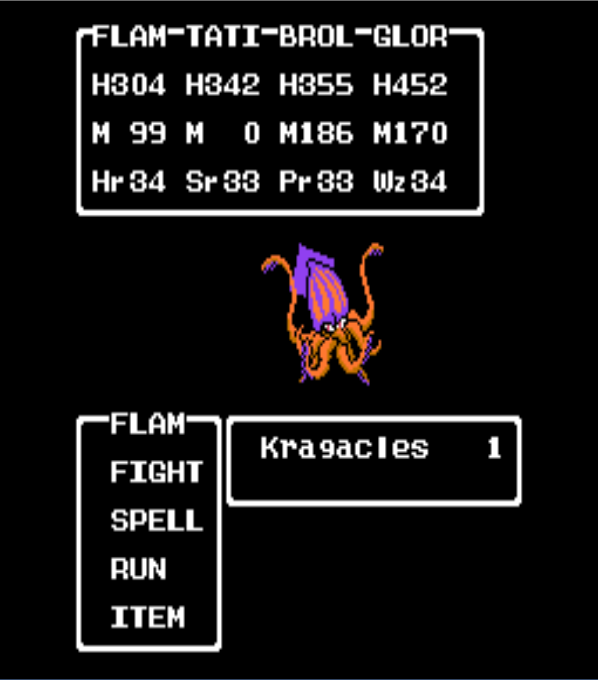
Kragacles
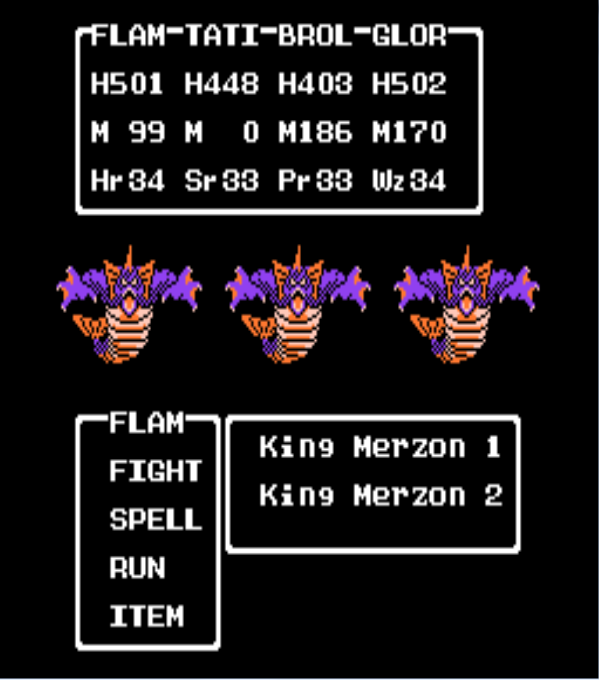
King Merzon
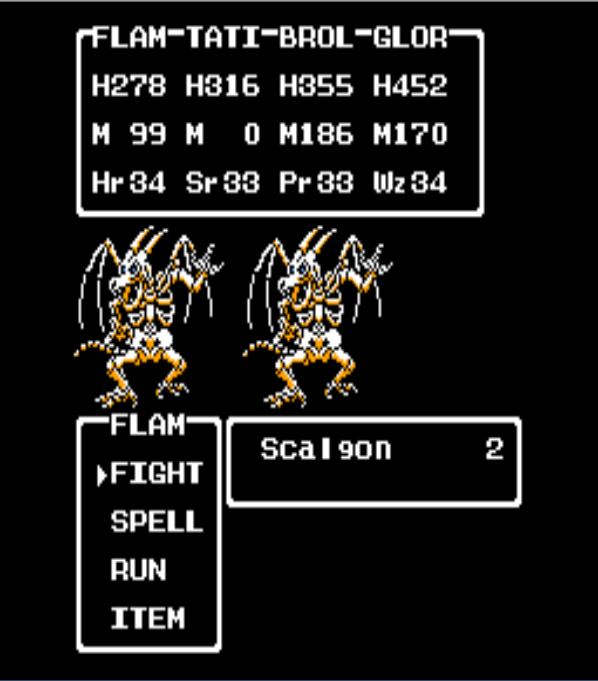
Scalgon
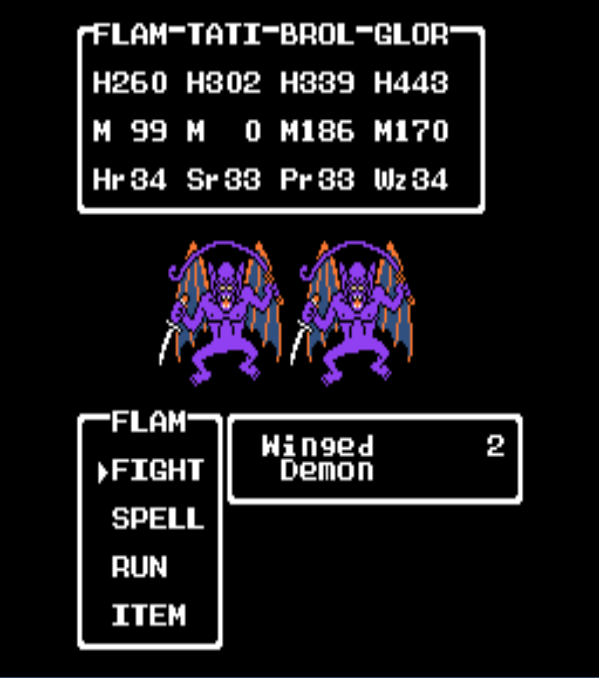
Winged Demon
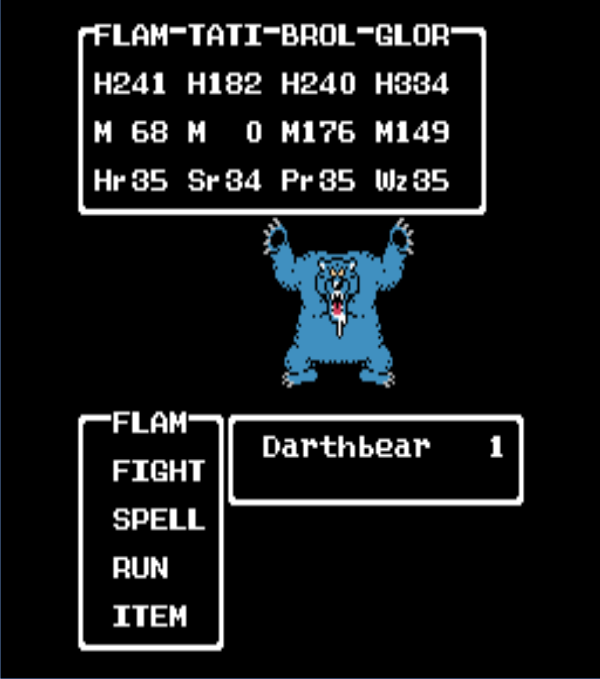
Darthbear
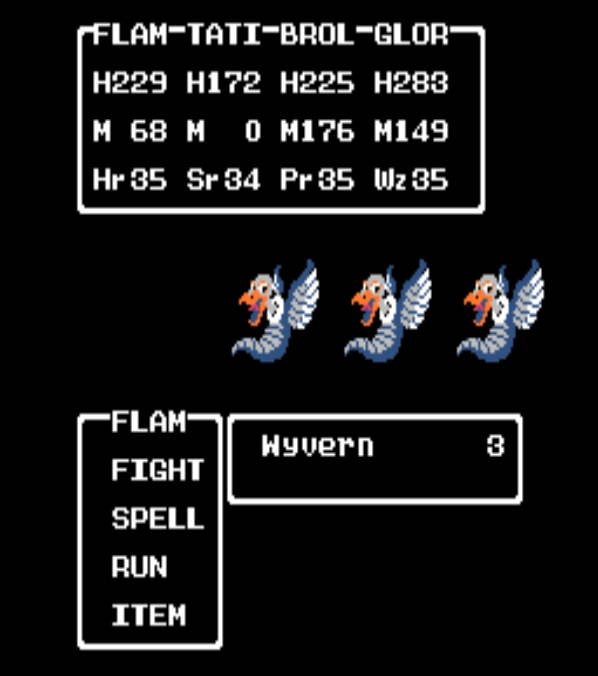
Wyvern
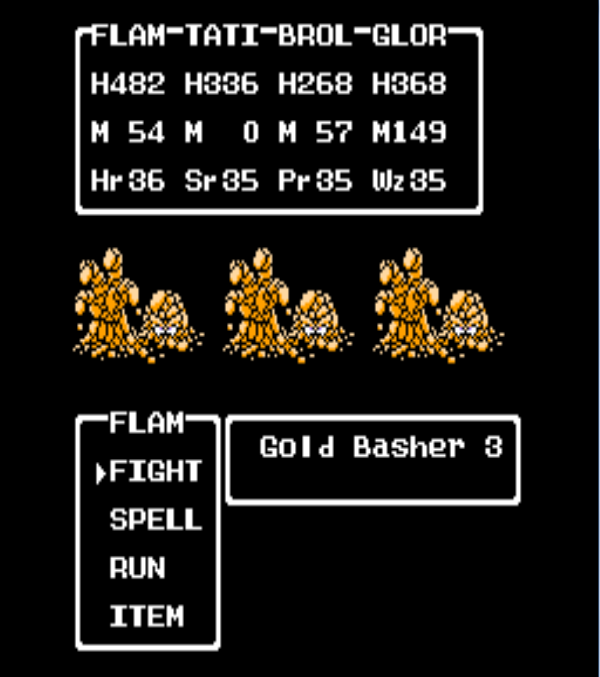
Gold Basher
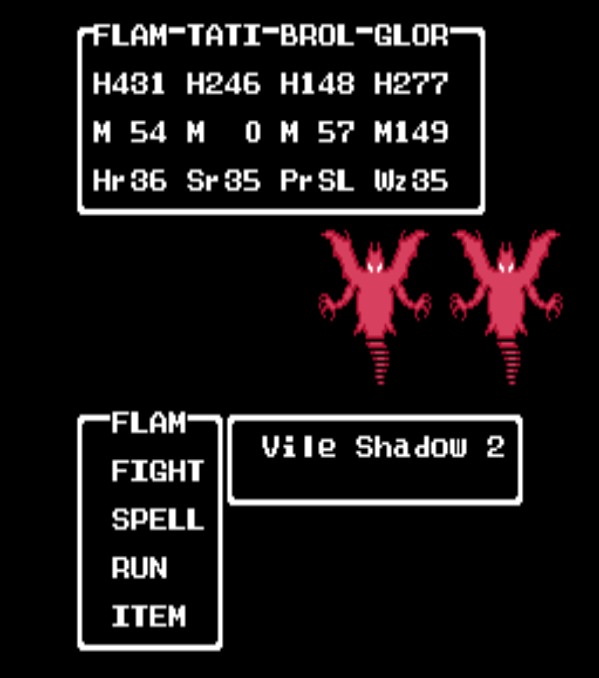
Vile Shadow
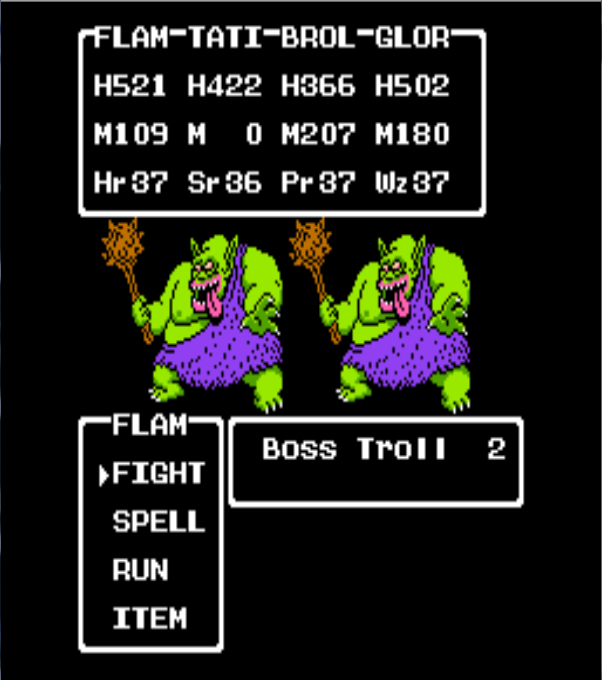
Boss Troll, Alefgard
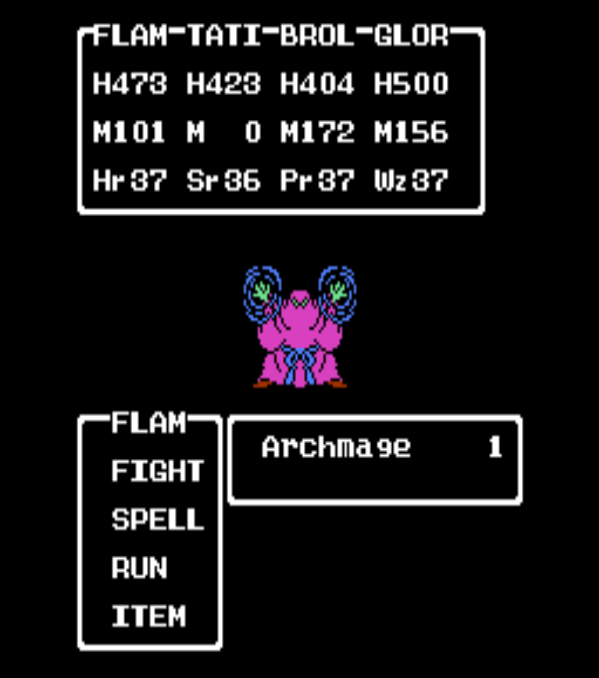
Archmage
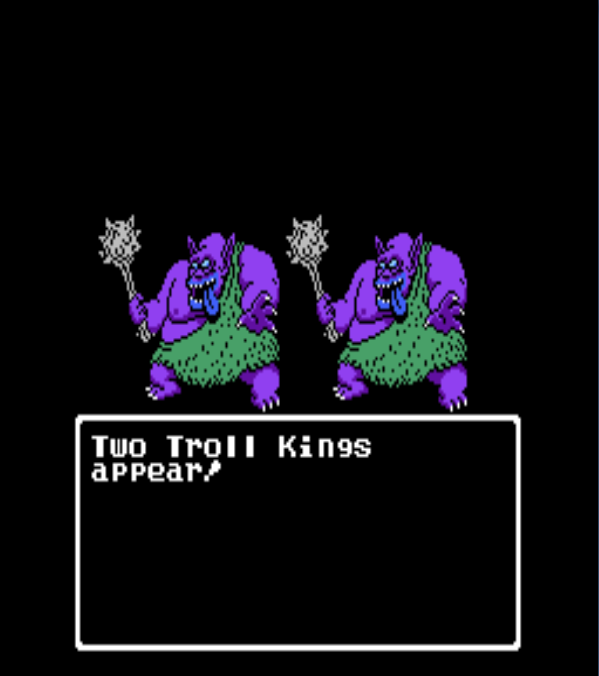
Troll King
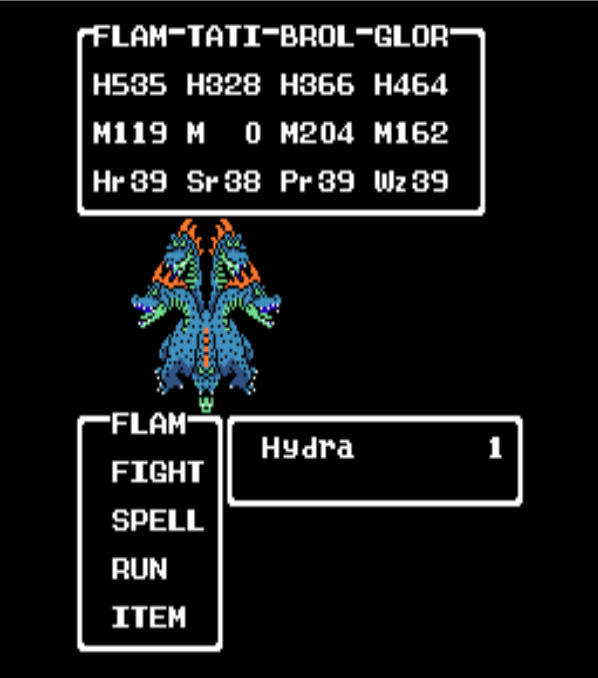
Hydra
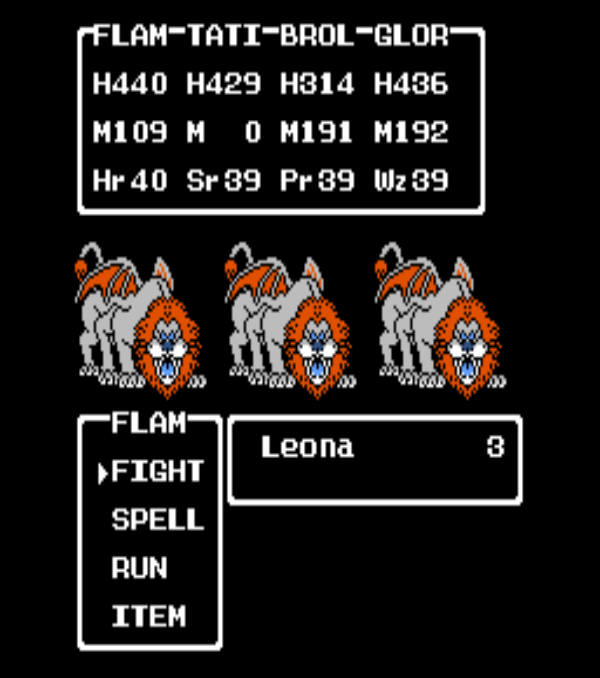
Leona
Magiwyvern

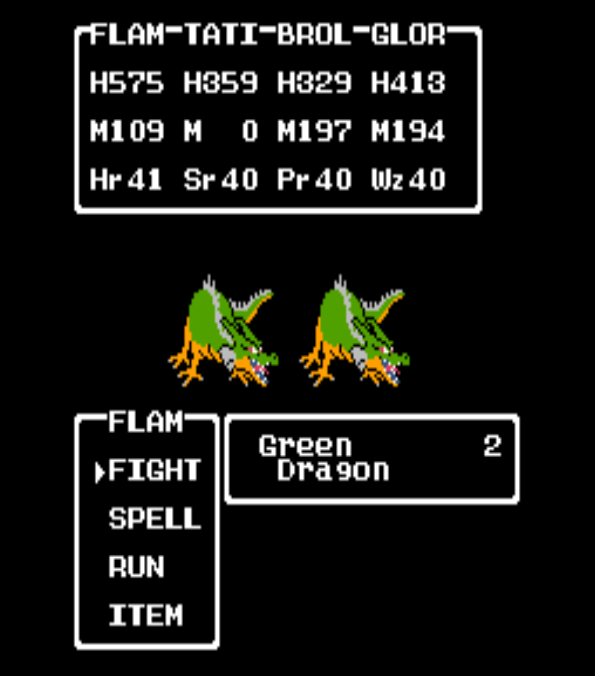
Green Dragon
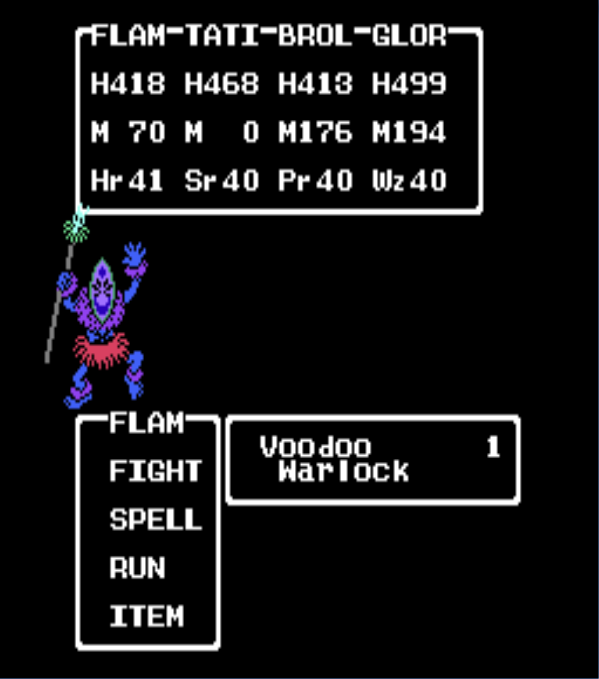
Voodoo Warlock
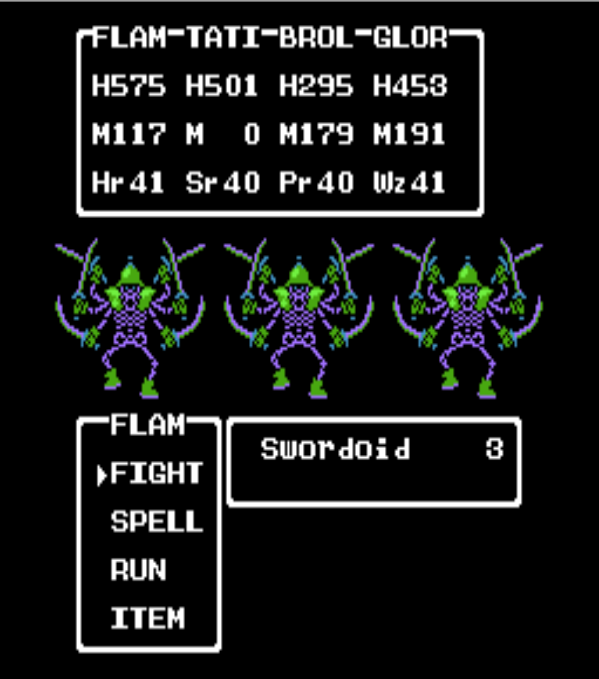
Swordoid
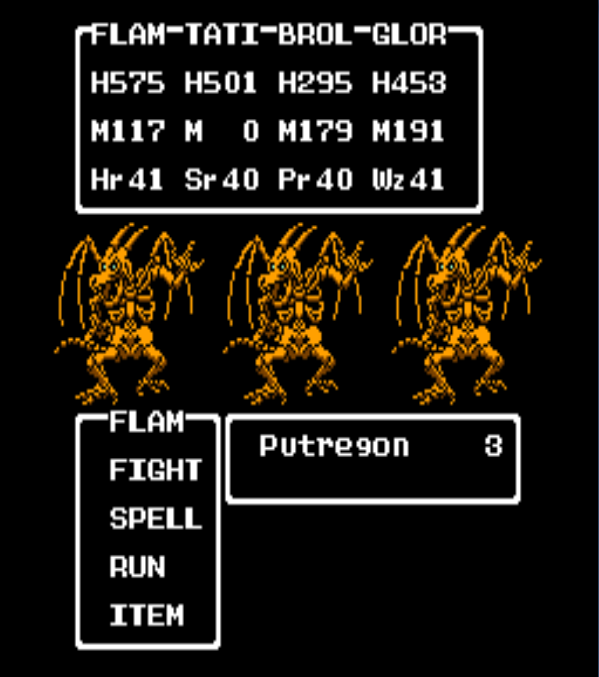
Putregon
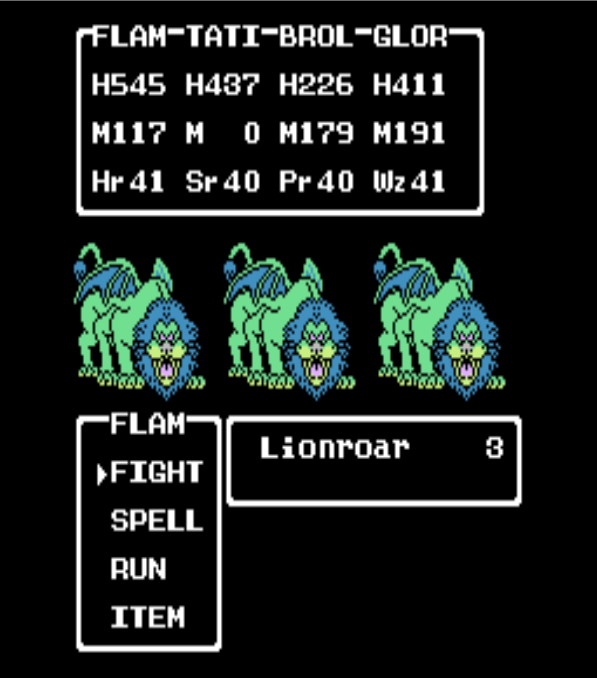
Lionroar
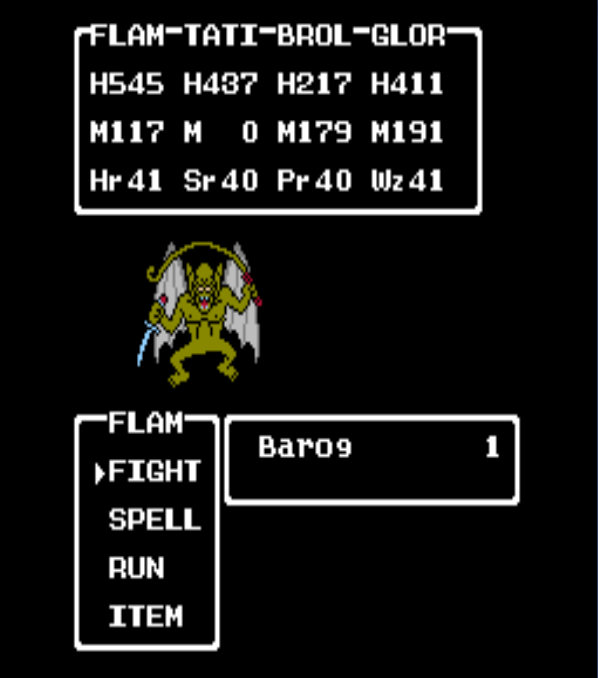
Barog
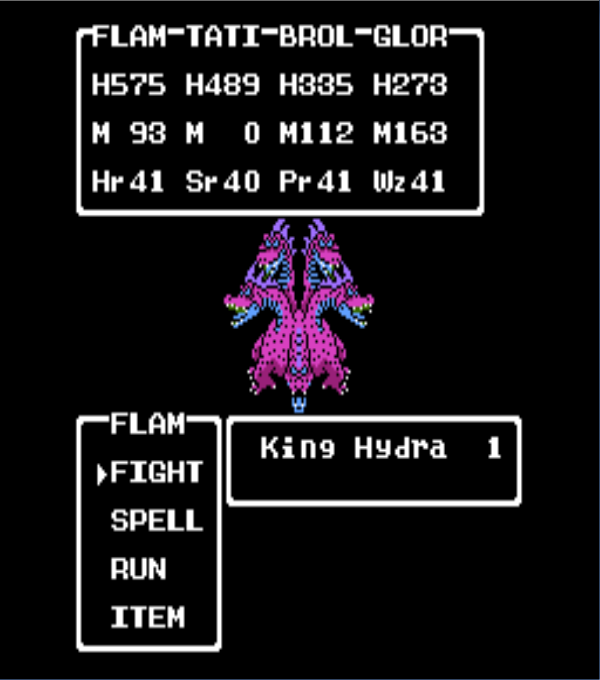
King Hydra [boss]
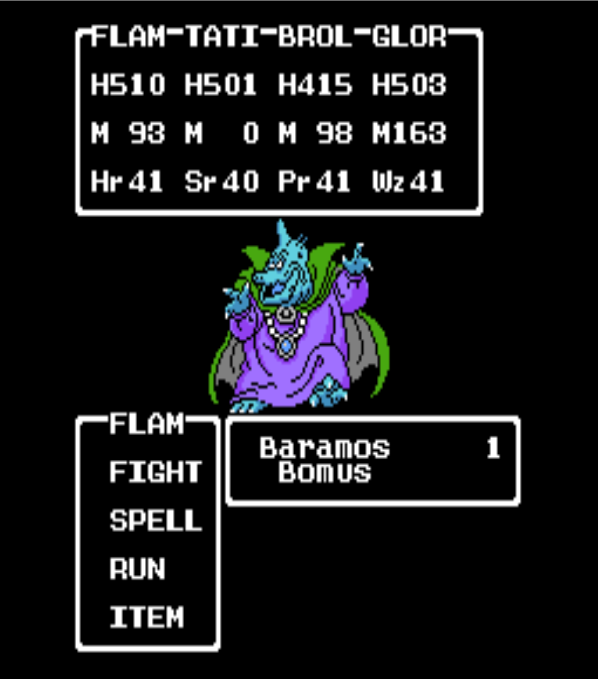
Baramos Bomus [boss]
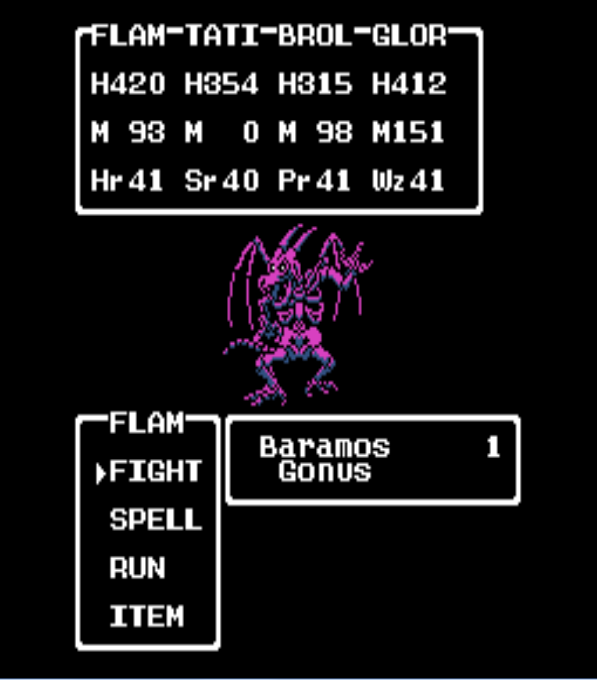
Baramos Gonus [boss]
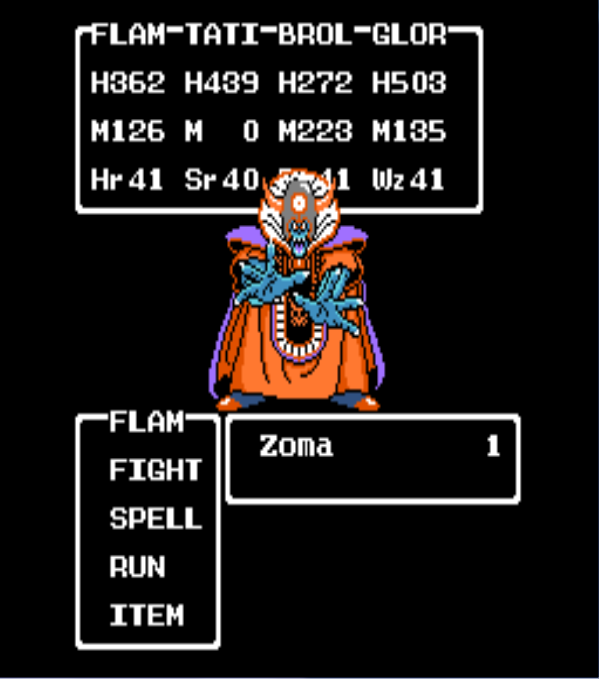
Zoma, form 1 [boss]
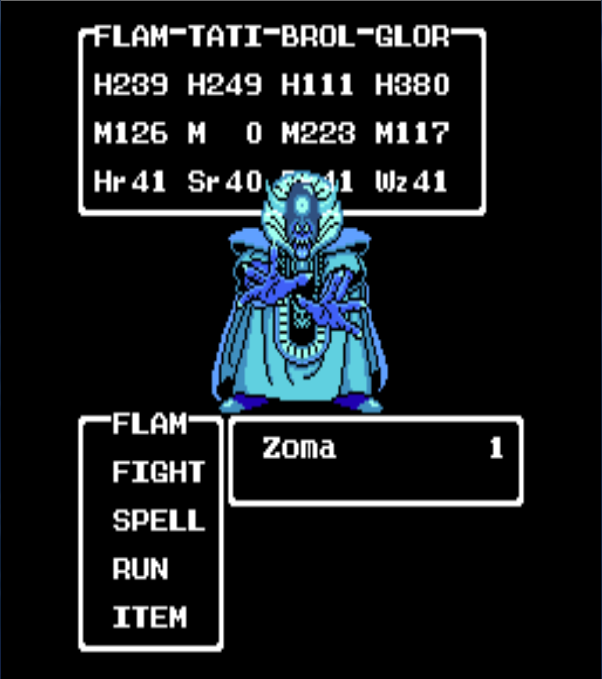
Zoma, form 2 [boss]
This is a complete enemy list for DRAGON WARRIOR 3. This walkthrough helped when I was playing the game, plus this enemy list and this enemy area document helped as well. Chronological Order: 3, 1, 2.
ZOMA CASTLE STAIRWAY: If you search the floor above the right throne (three squares up and one square left of the throne's seat), you will find a set of stairs.
Notes to remember: The Staff of Force uses up your Magic Points at a rate of 3 MP per attack! DON'T USE IT IF YOU WANT TO CONSERVE MAGIC POINTS! The Wizard's Wand (Noaniels or Samanao) is your best bet.
The Phantom Ship can be found near Romaly or Assaram. You can get the Sword of Illusion from Sabrina in Portoga after defeating Baramos... just go to the south side of town. The BeDragon spell works well for the Wizard in the final battle against the Master Archfiend Zoma.
Revolving Tile Directions for the Tower near Kol: Head up the stairs to the second floor and go north. In the next room, you'll notice two rows of strange tiles. These tiles alter the direction of
your steps, so be careful. If you look closely, there are two different types of tiles: ones that are darker on the left and lighter on the right, and others that are lighter on the left and darker on the right. Walk east of these tiles to find another group of four. Stand on the bottom left tile and press UP, UP. You'll now be in the center of the floor. In order to get to the treasure chests above you, step on the bottom left tile of the big group and press RIGHT, RIGHT, LEFT, LEFT. This should take you straight up to the group of 4 treasure chests. Two of them are Mimics (the top right and bottom left). The other two contain a Full Moon Herb and 960G pieces. Now return to the center by standing on the far left tile and pressing LEFT, LEFT, RIGHT, RIGHT. There are four more treasure chests to the south, so stand on the far left tile of the southern group and press RIGHT, RIGHT, LEFT, LEFT. Open the chests here for some Acorns of Life, a Vitality Seed, and two more Acorns of Life! Nice! Now return to the center again by standing on the far left tile and pressing RIGHT, RIGHT, LEFT, LEFT. Now walk to the right side, and stand on the bottom left tile of the group of four. Press DOWN, DOWN to get to the other side and you'll see a staircase in the upper right corner. Take these stairs up to the next floor.
Head south on the third floor until you reach another set of stairs leading up. Take these and then walk north once you're on the fourth floor. Soon, you'll come to an area with some of those weird tiles on your left. Walk over to them and stand on the bottom right tile of the first group of six. Press UP, UP, UP to move to the left, and then on the next set, press DOWN, DOWN, DOWN to get to the treasure chest containing the Armor of Radiance. This is the best piece of armor for your Hero, so equip it on him.
Now fall down the pit and head south once you land on the floor below. Exit the large room you land in, and then go west down the hallway. Just follow this passage as it turns north and you'll find a treasure chest at the very top corner (careful, it's a Mimic). East of this chest is another group of strange tiles. The idea on these is to purposely fall off the edge of the tower to the north. So just step on the top tile and press RIGHT to fall off the edge.
This will place you right outside the tower on the first floor. Open the large door south of you and enter the tower again. Go west once you're inside and up the stairs in this room. Head east on this floor and cross both sets of tiles by pressing DOWN, DOWN for both of them. Once you're on the other side, walk up the stairs to the next floor and then up the next set of stairs. Now just walk all the way west to the last set of stairs to find yourself on the top floor.
Basement boulder puzzle guide (for the Vase of Drought) in DW3 Eginbear Castle.
Slime
Black Raven
Horned Rabbit
FroggoreBabble
Masked Moth
Spiked Hare
Magician
Scorpion Wasp
Demon Anteater
Caterpillar
Putrepup
Poison Toad
Deadly Toadstool
Vampire
Army Crab
Gas Cloud
Killer Bee
Poison Silkworm
Rogue Knight
Humanabat
Healer
Avenger Raven
Madhound
Man-Eater Moth
Demon Toadstool
Kandar Henchman [boss]
Kandar Tower of Shanpane [boss]
Vampire Cat
Wild Ape
Demonite, in Assaram
Infernus Crab
Flamapede
Mummy Man
Trick Bag
King Froggore
Man-Eater Chest
Mummy
Hork
Shadow
Lumpus
Heat Cloud
Avenger Jackal
Hunter Fly
Tonguebear
Mage Toadstool
Nev
Catula
Executioner
Kandar Baharata Cave [boss]
Man O' War
King Squid
Goategon
Infernus Knight
Barnabas
Curer
Witch
Marine Slime
Merzon
Hades' Condor
Blue Beak
Stingwing
Bighorn
Witch Doctor
Deranger
Merzonician
Venom Zombie
Crabus
Tentacles
Glacier Basher
Simiac
Rammore
Great Beak
Sky Dragon
Garuda
Fierce Bear
Metal Slime
Avenger Beak
Slime Snaii
Lava Basher
Orochi in Jipang Cave [boss]
Orochi / Himiko [boss]
Eliminator
Grizzly
Old Hag
Lethal Armor
Tortragon
Voodoo Shaman
Kong
Elysium Bird
Skeleton
Mimic
Terror Shadow
Boss Troll Samanao Castle
Minidemon, on Phantom Ship
Bomb Crag
Troll
Frost Cloud
Dancing Jewel
Marauder
Metal Babble
Hologhost
Lionhead
King Tortragon
Stone Hulk
Snow Dragon
Evil Mage
Baramos [boss]
Red Slime
Salamander (dragon)
Goopi
Granite Titan
Ghoul
Kragacles
King Merzon
Scalgon
Winged Demon
Darthbear
Wyvern
Gold Basher
Vile Shadow
Boss Troll, Alefgard
Archmage
Troll King
Hydra
Leona
Magiwyvern
Green Dragon
Voodoo Warlock
Swordoid
Putregon
Lionroar
Barog
King Hydra [boss]
Baramos Bomus [boss]
Baramos Gonus [boss]
Zoma, form 1 [boss]
Zoma, form 2 [boss]
Labels: dragons, dungeons, games, golden, japan, links, lists, ocdl, parties, pictures, sabrina, scrabble, snow, vernon, videos, walkthroughs, war, water, wikipedia
posted by Flami at 6:43:00 PM
![]()
![]()

0 Comments:
Post a Comment
<< Home